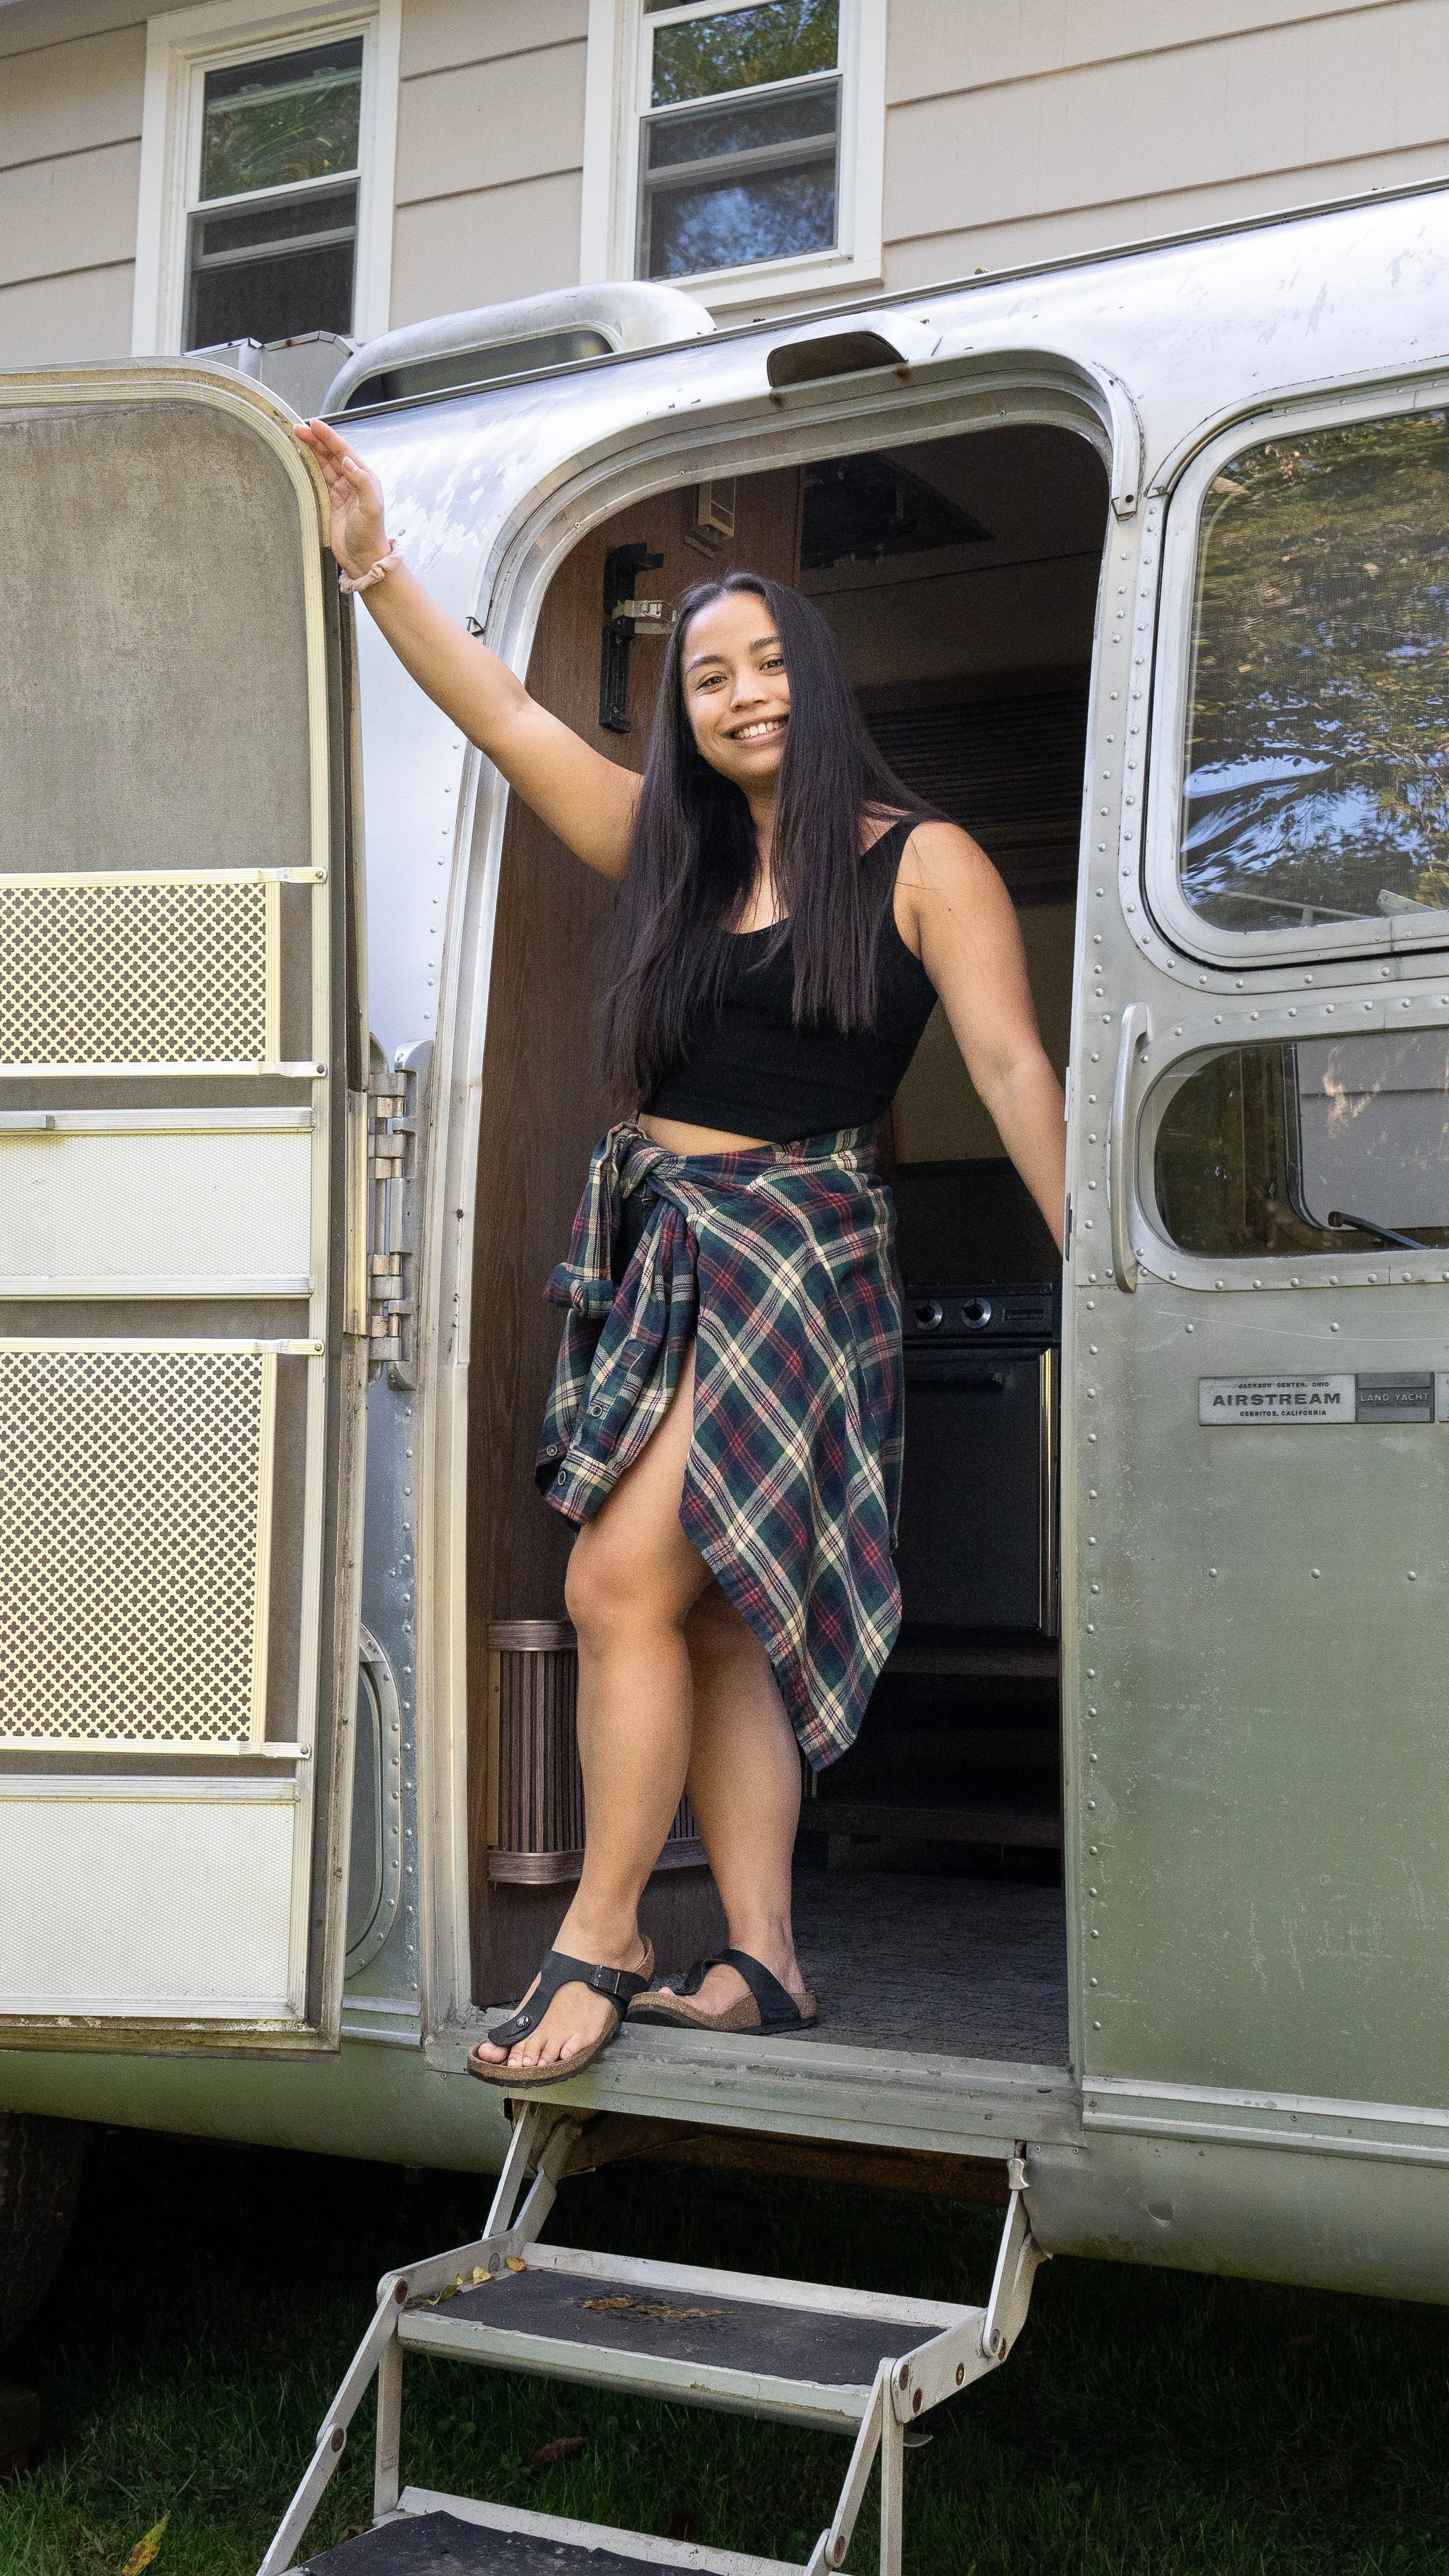
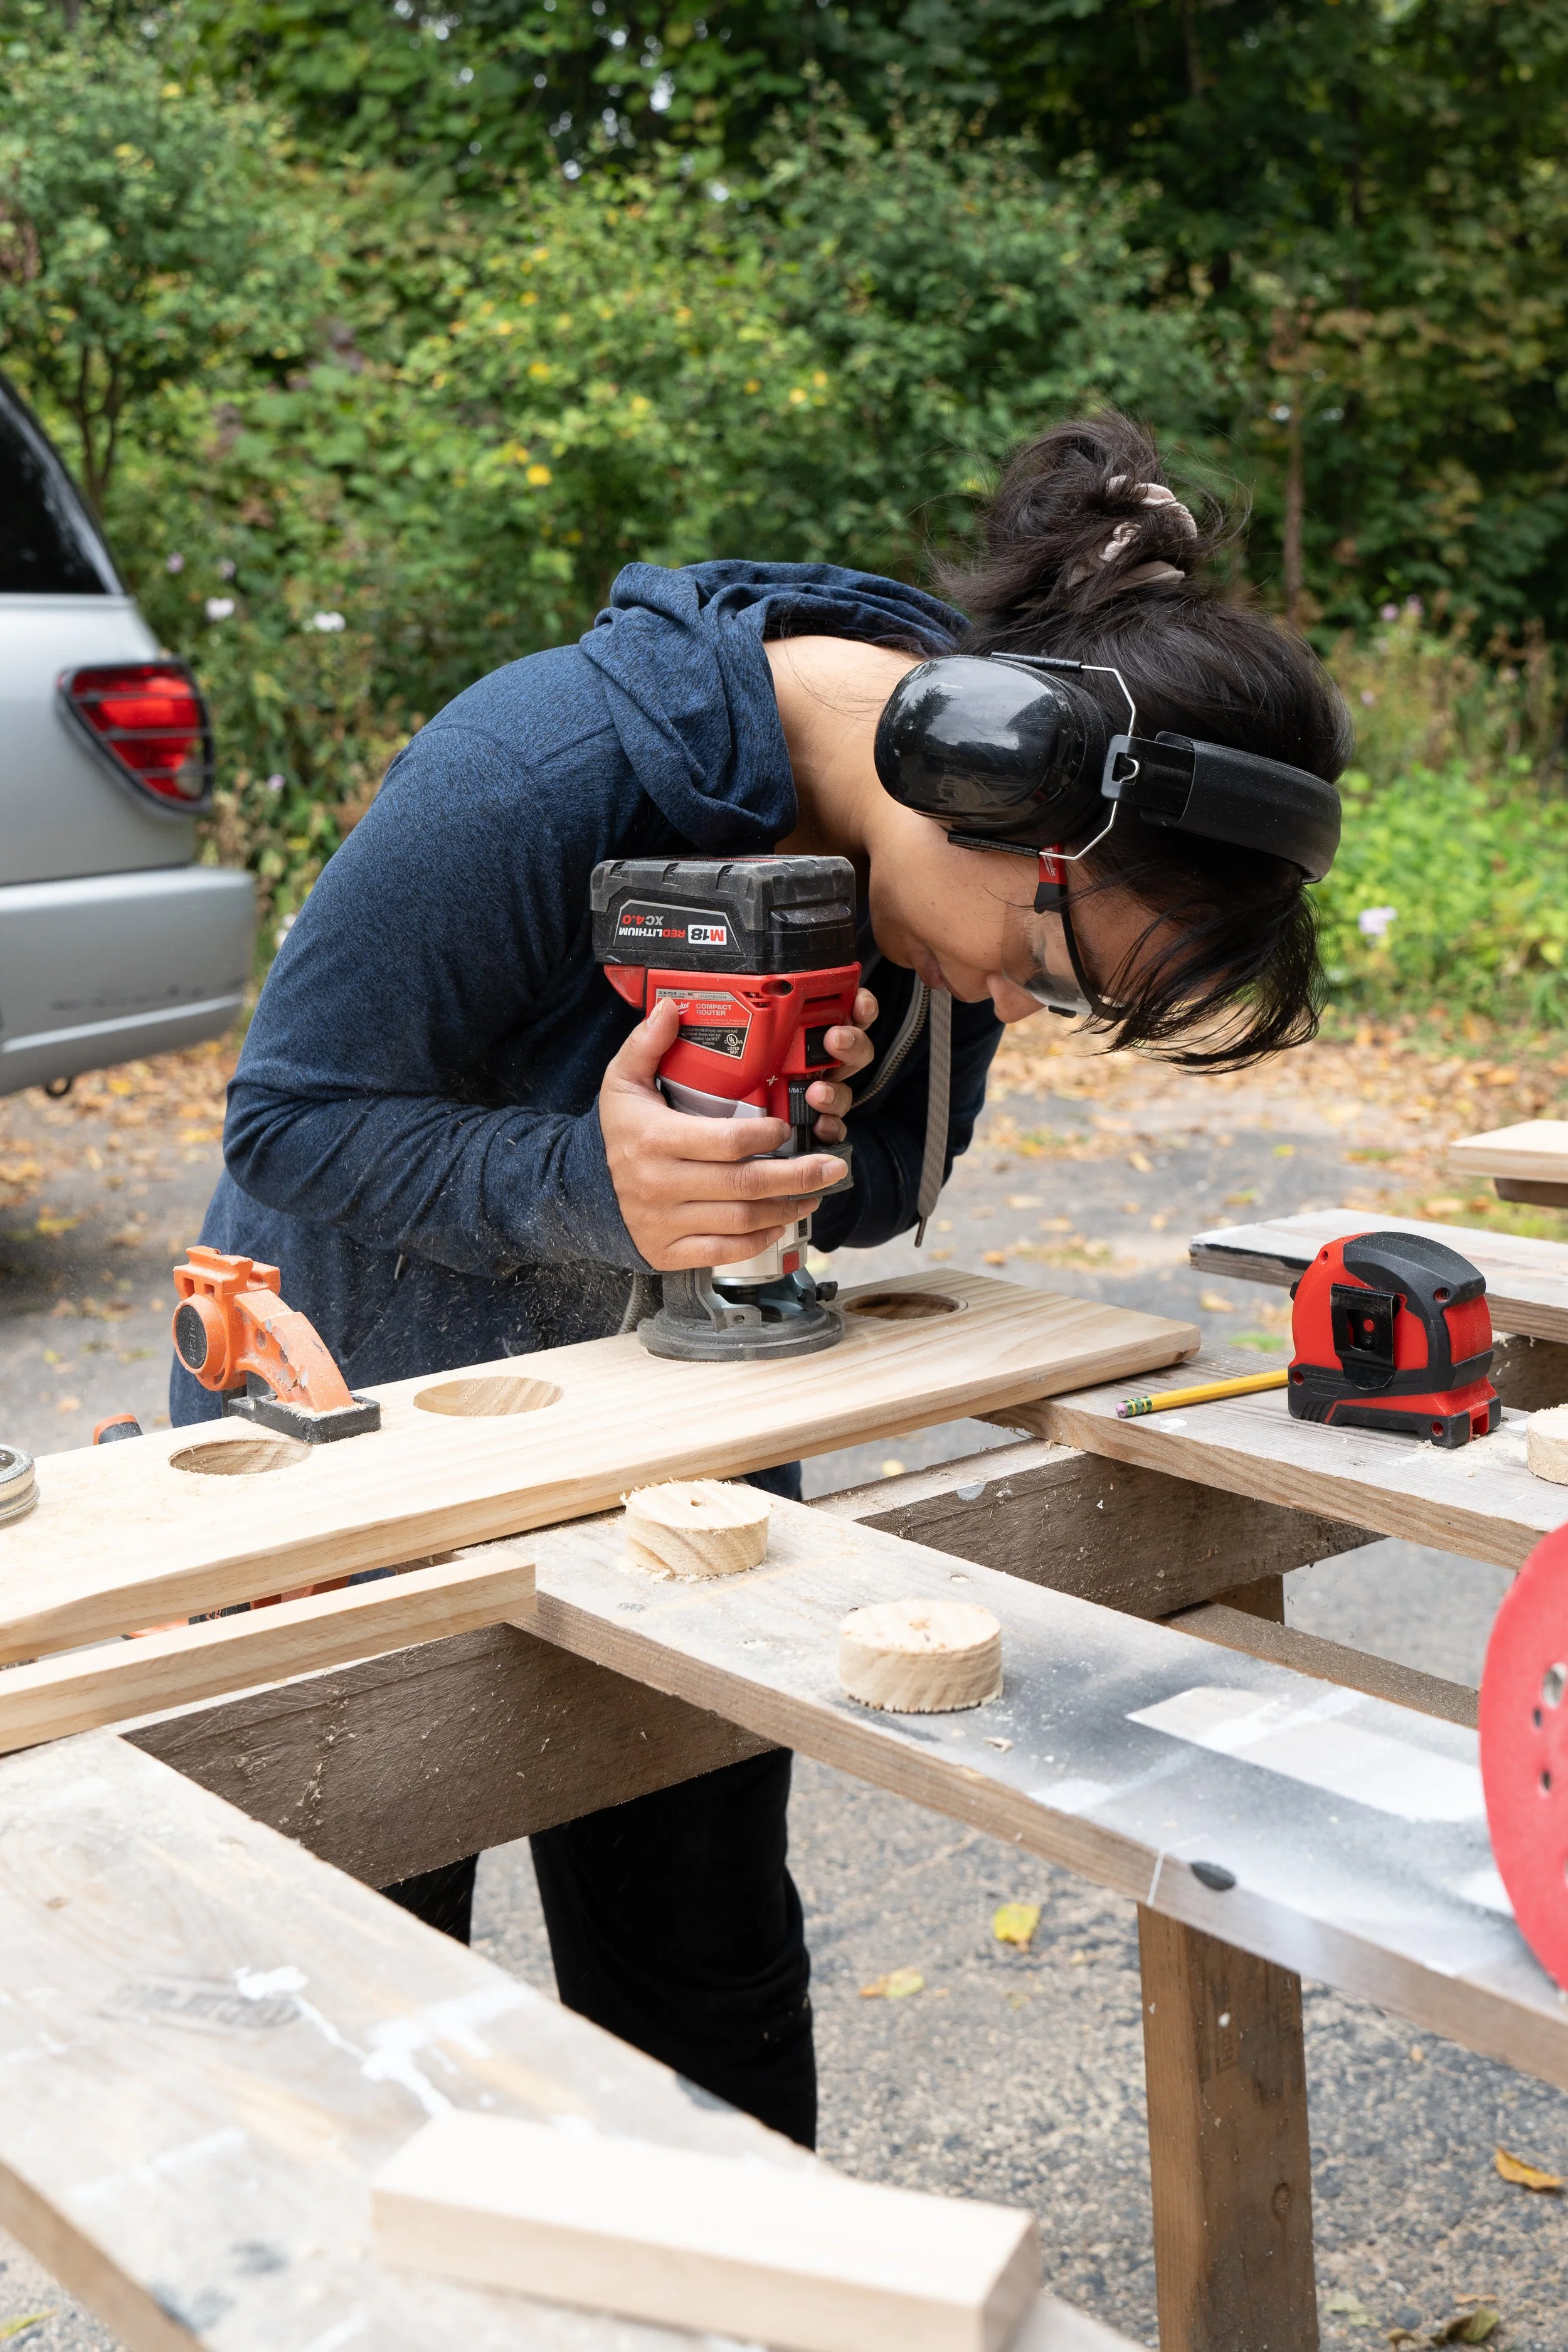
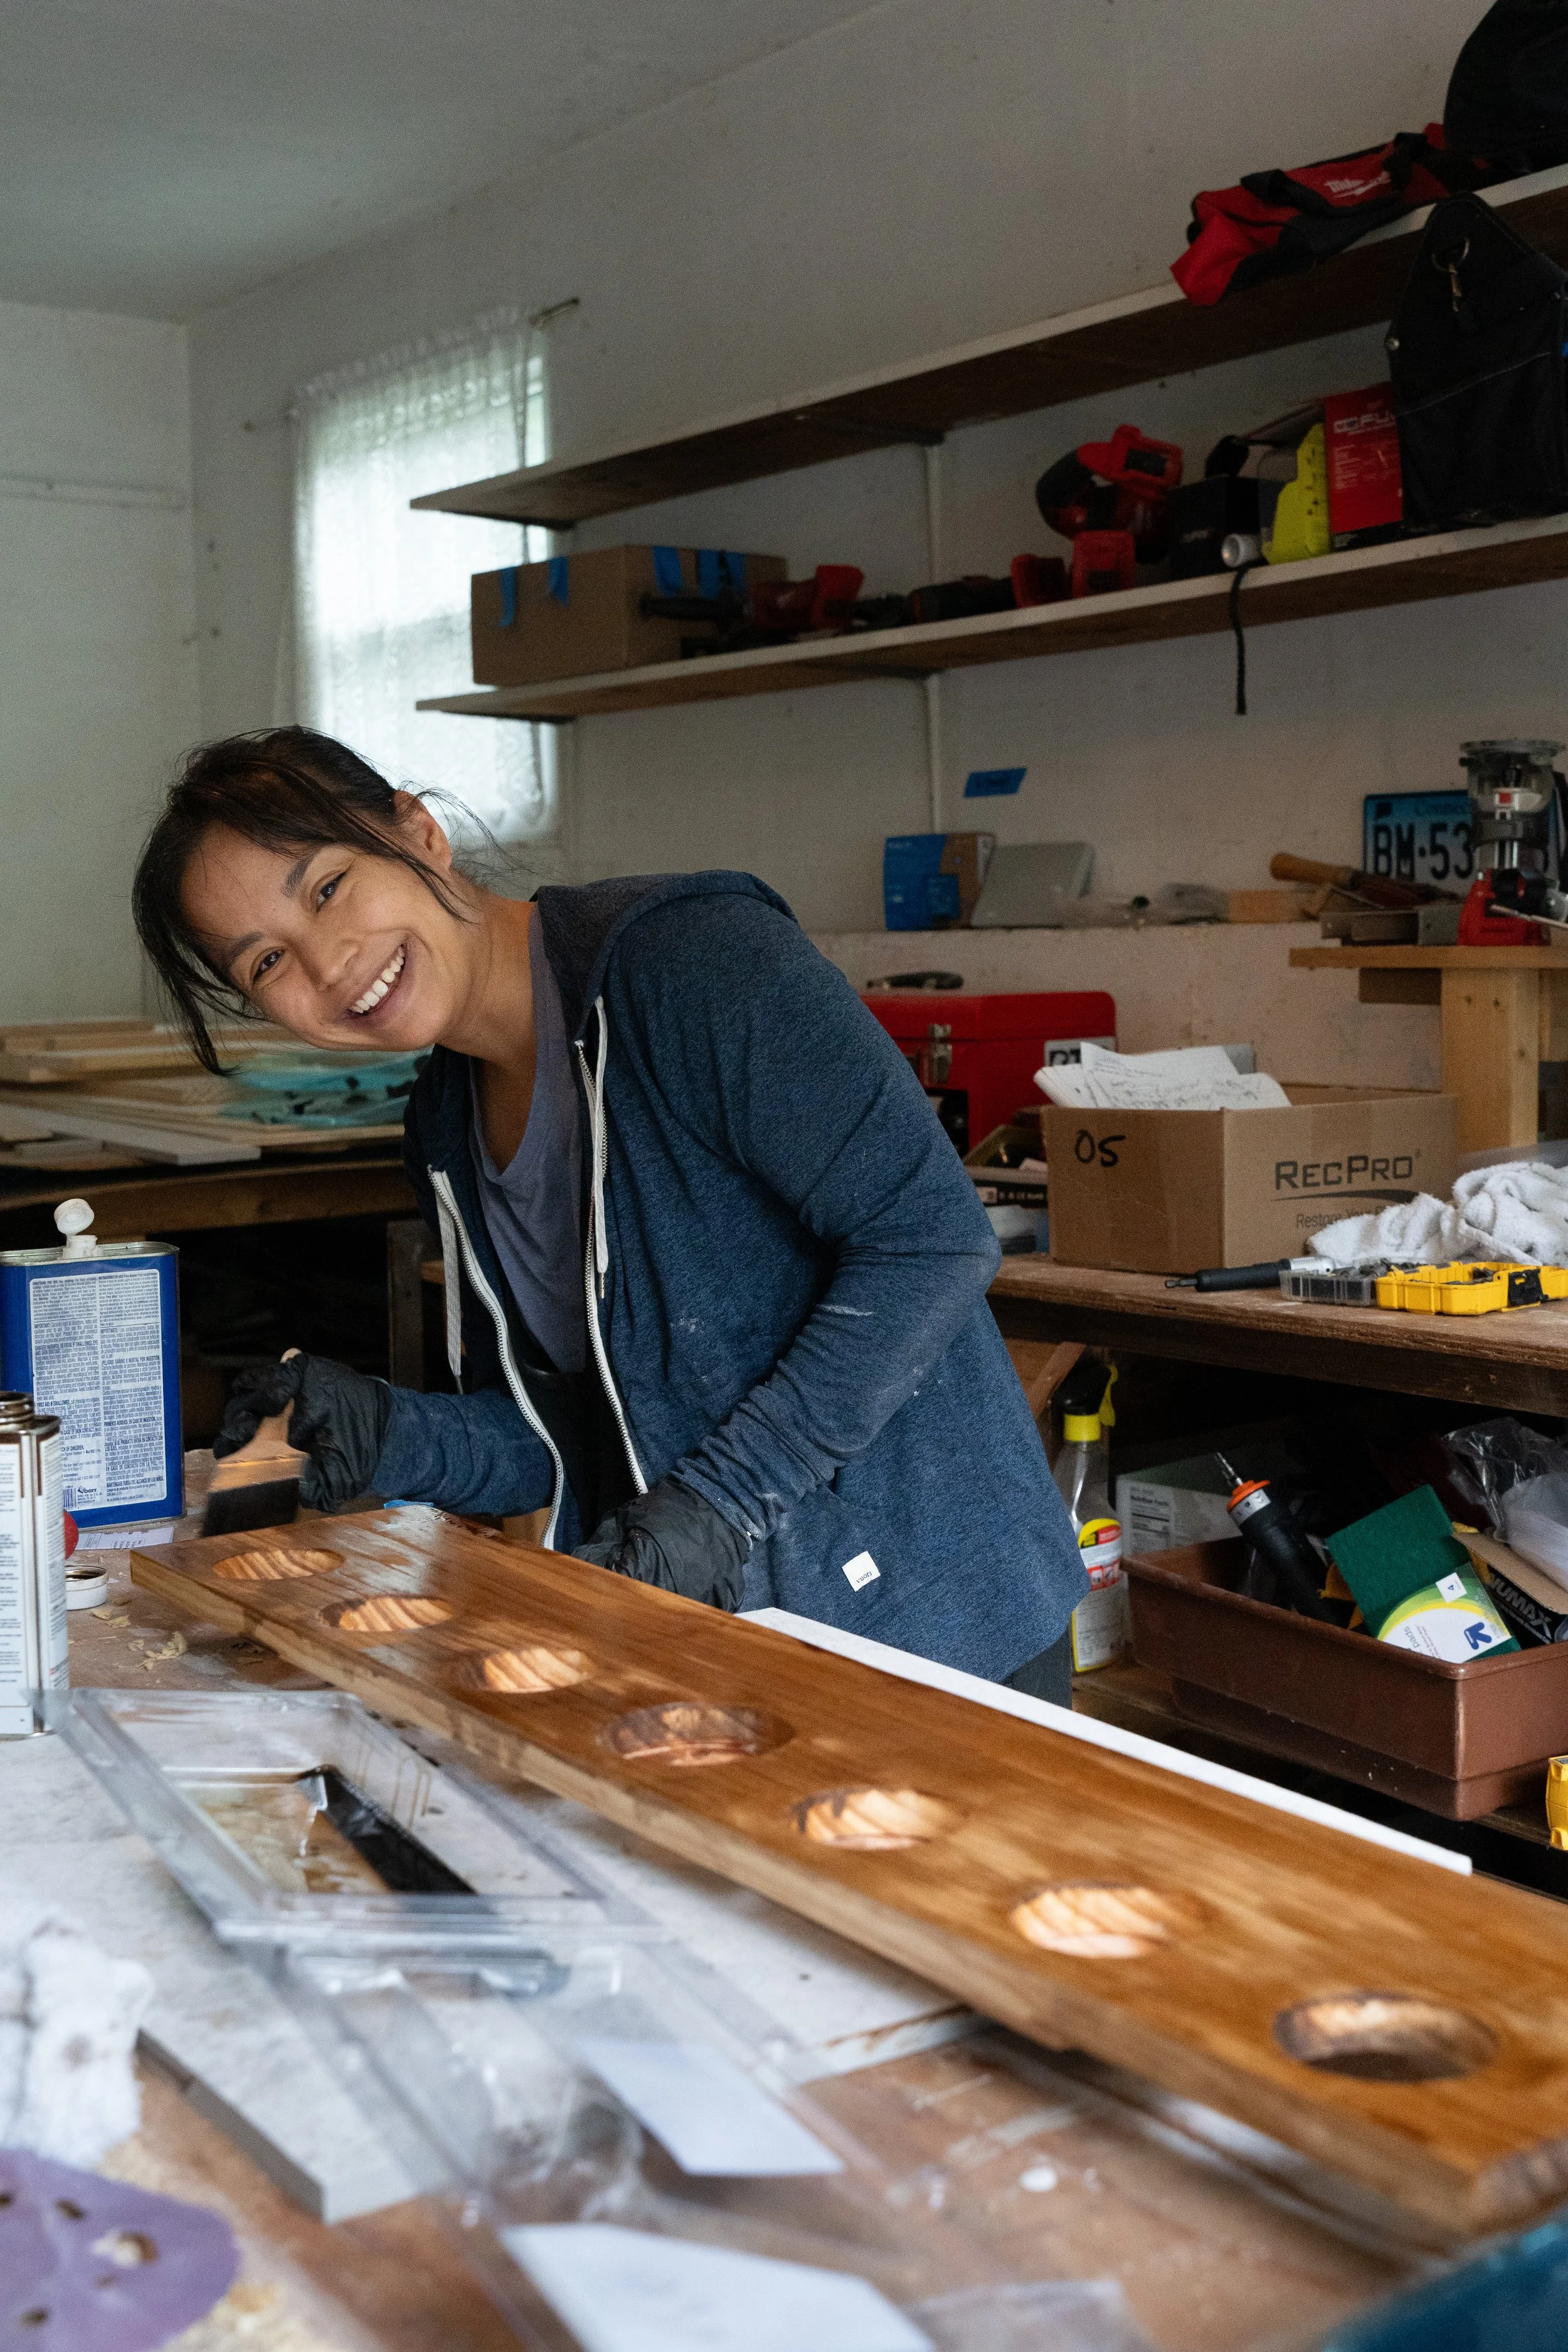
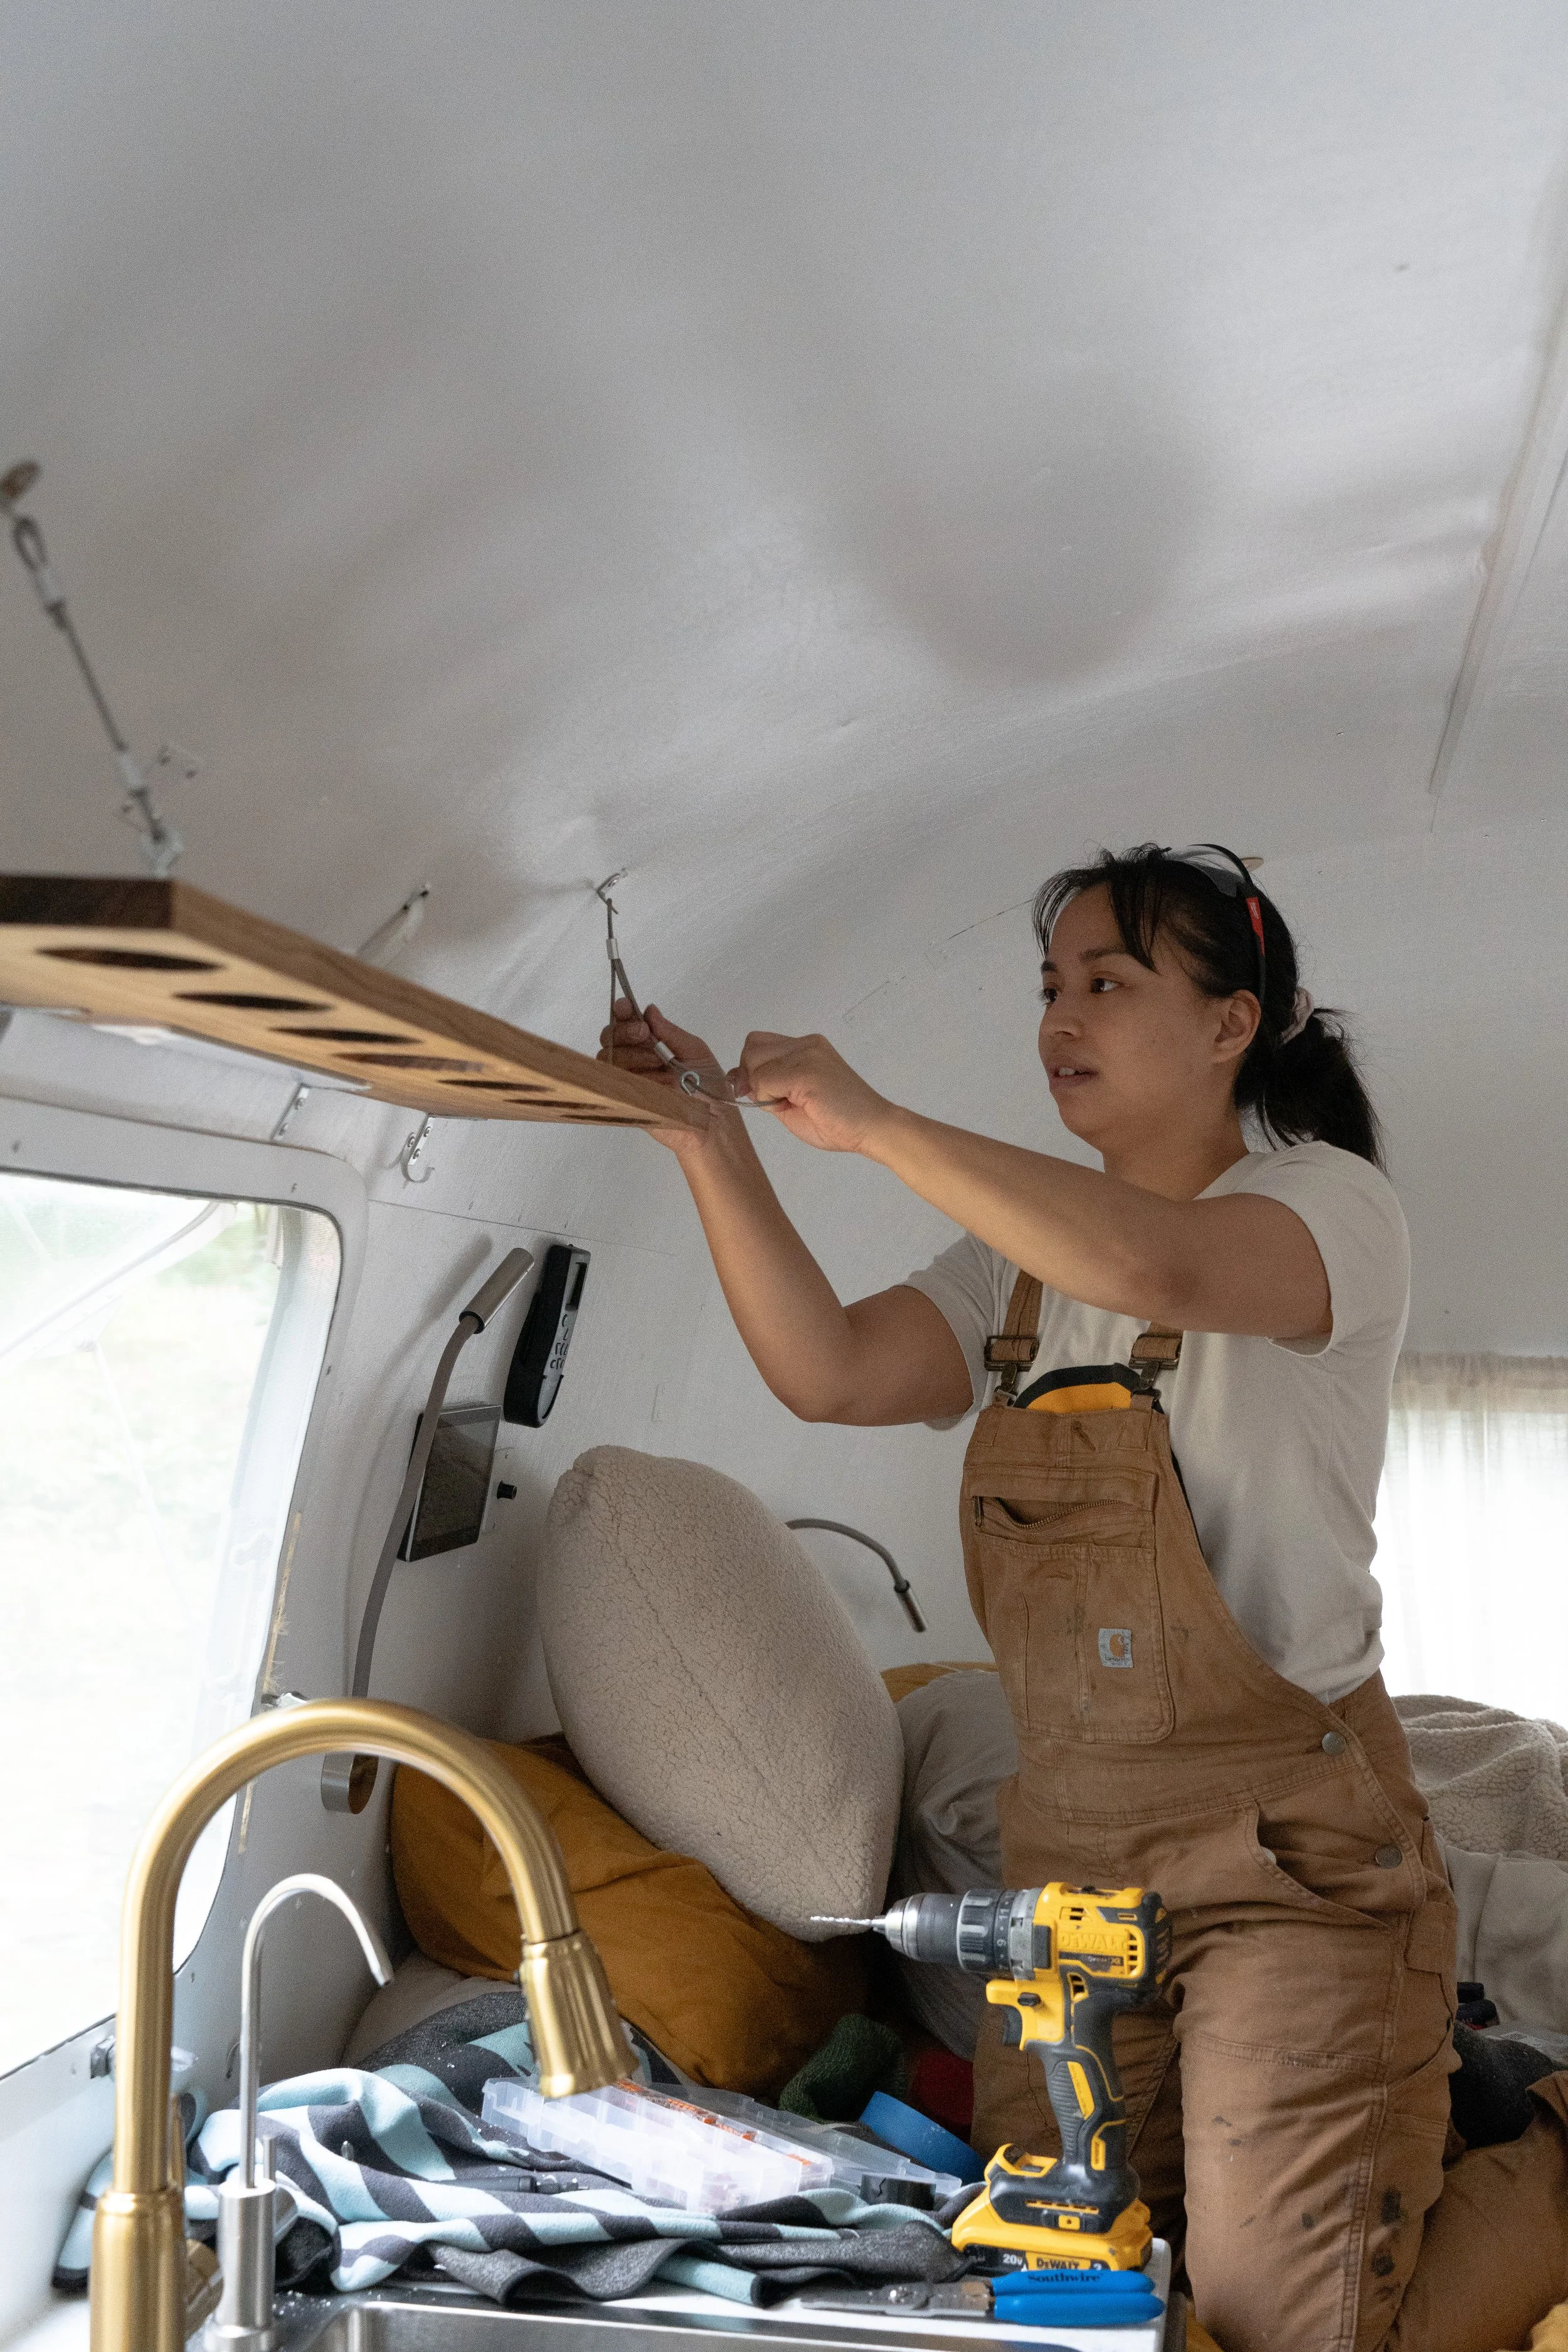
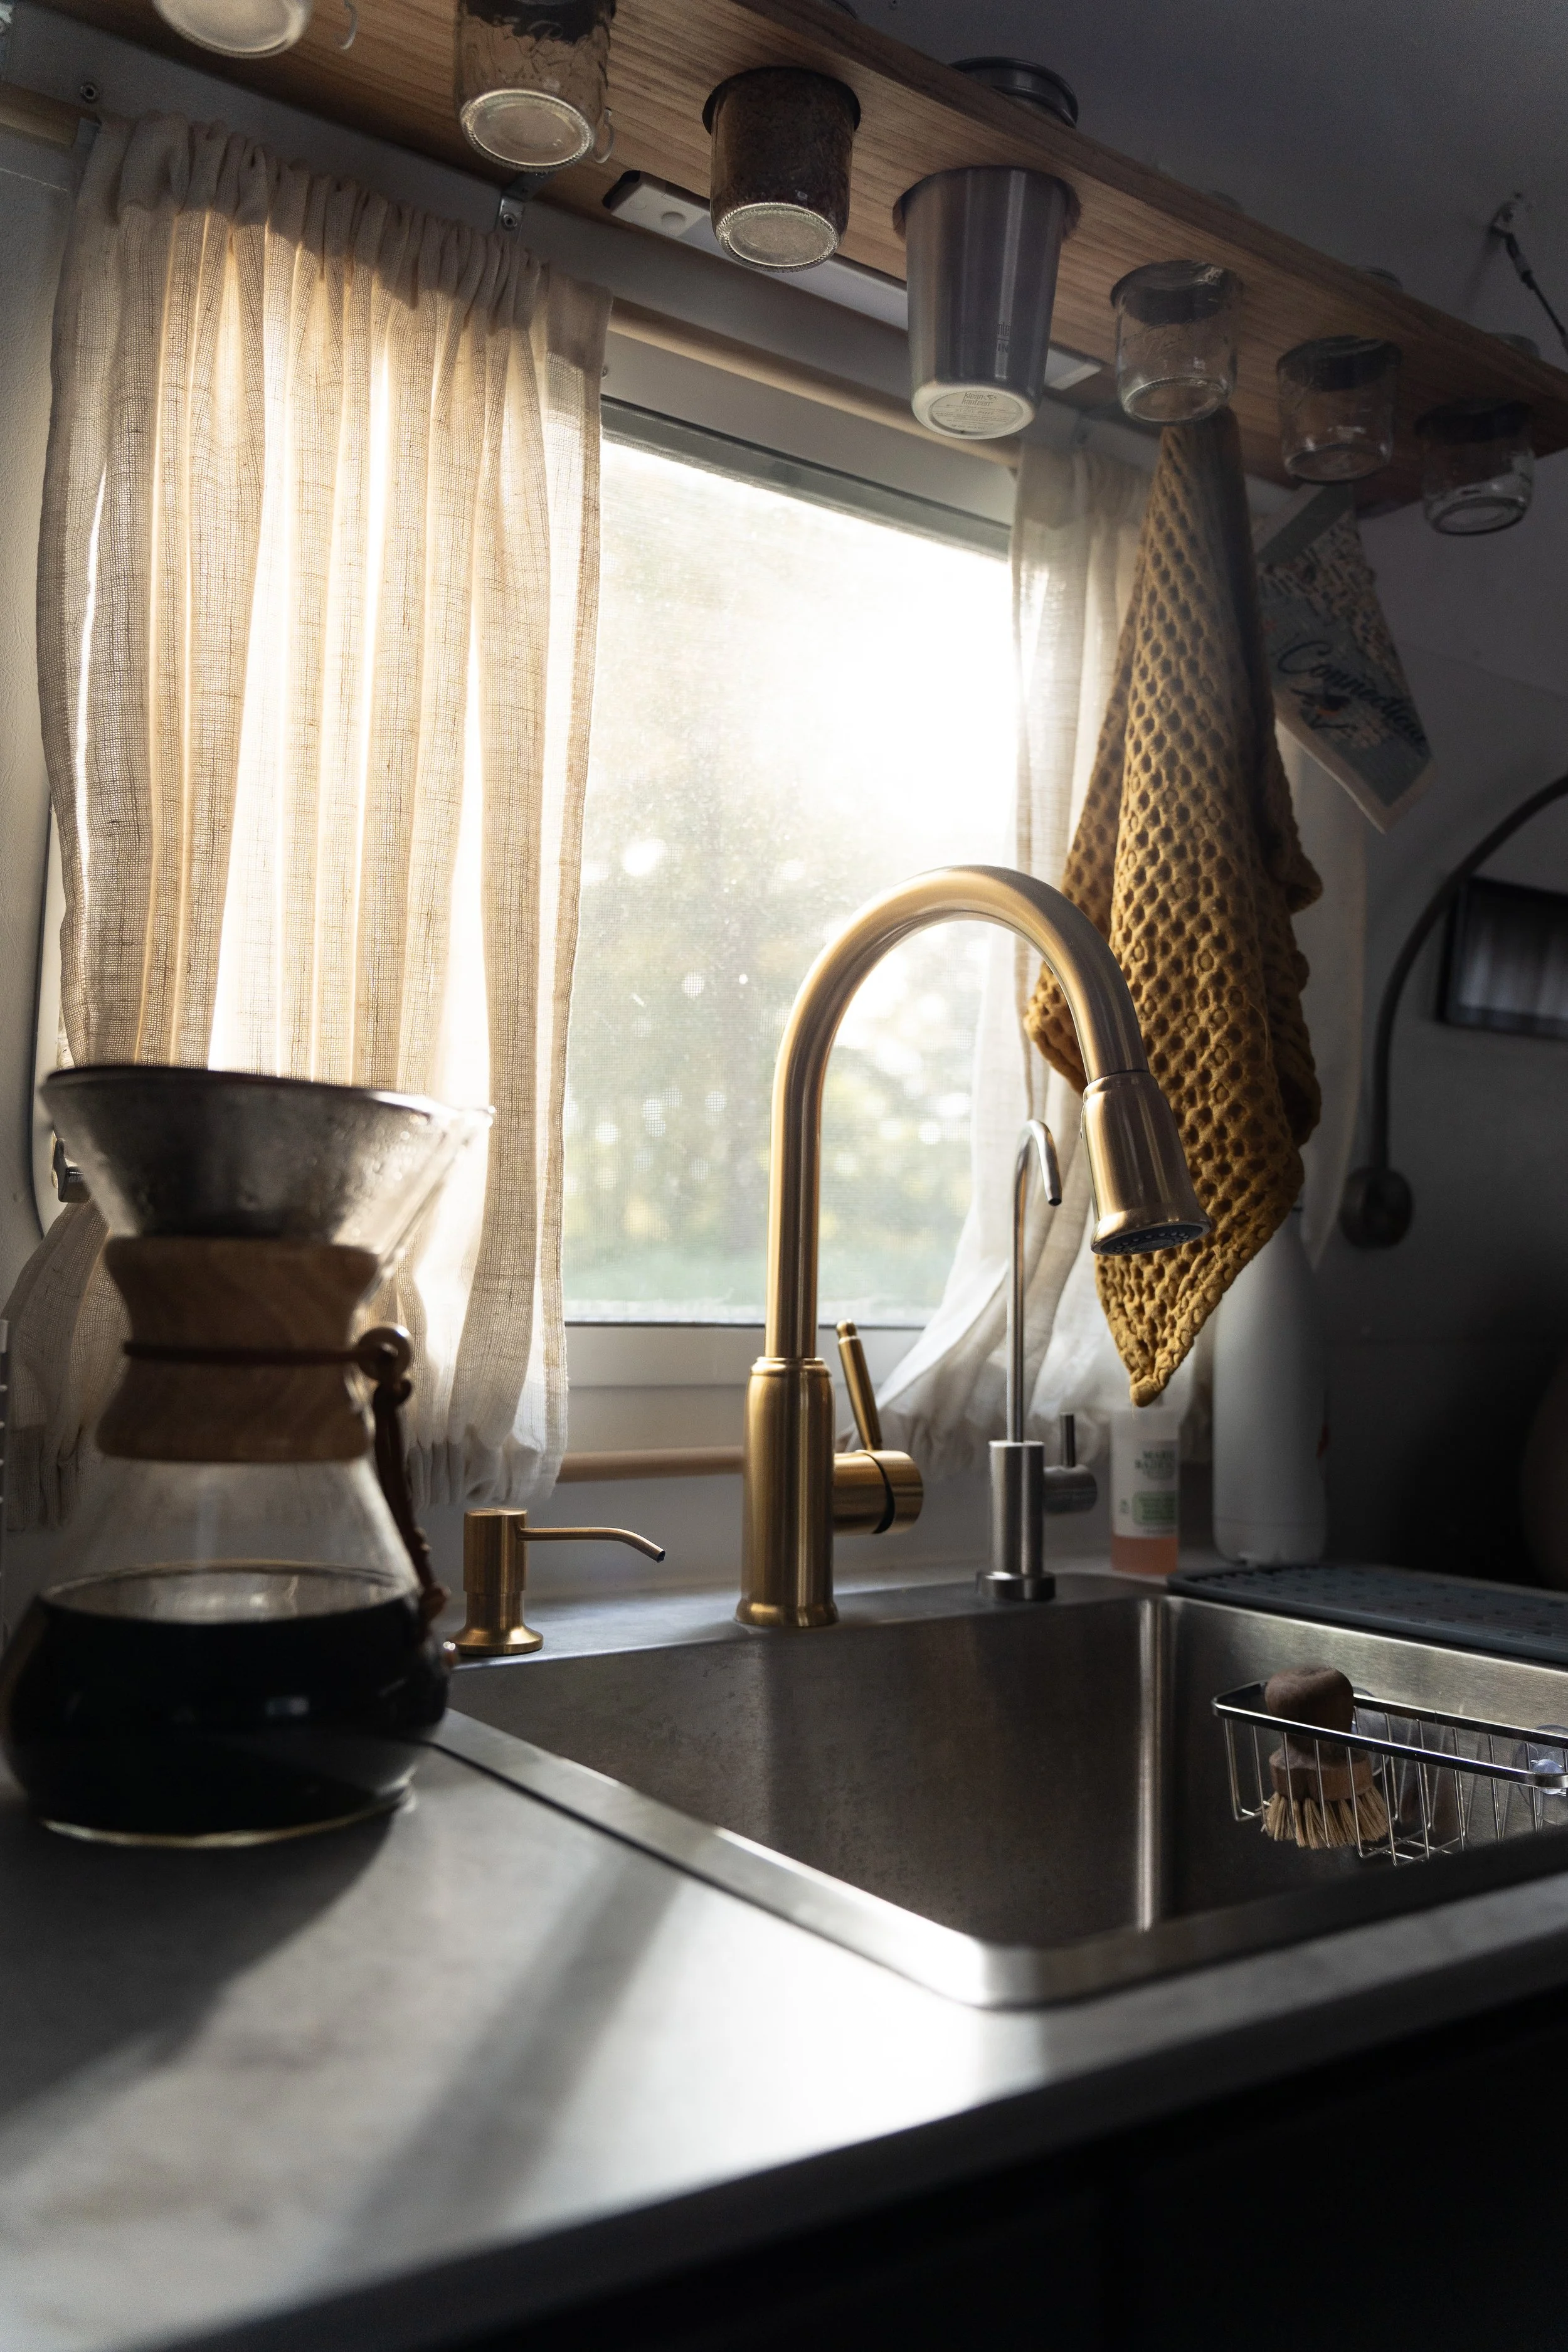
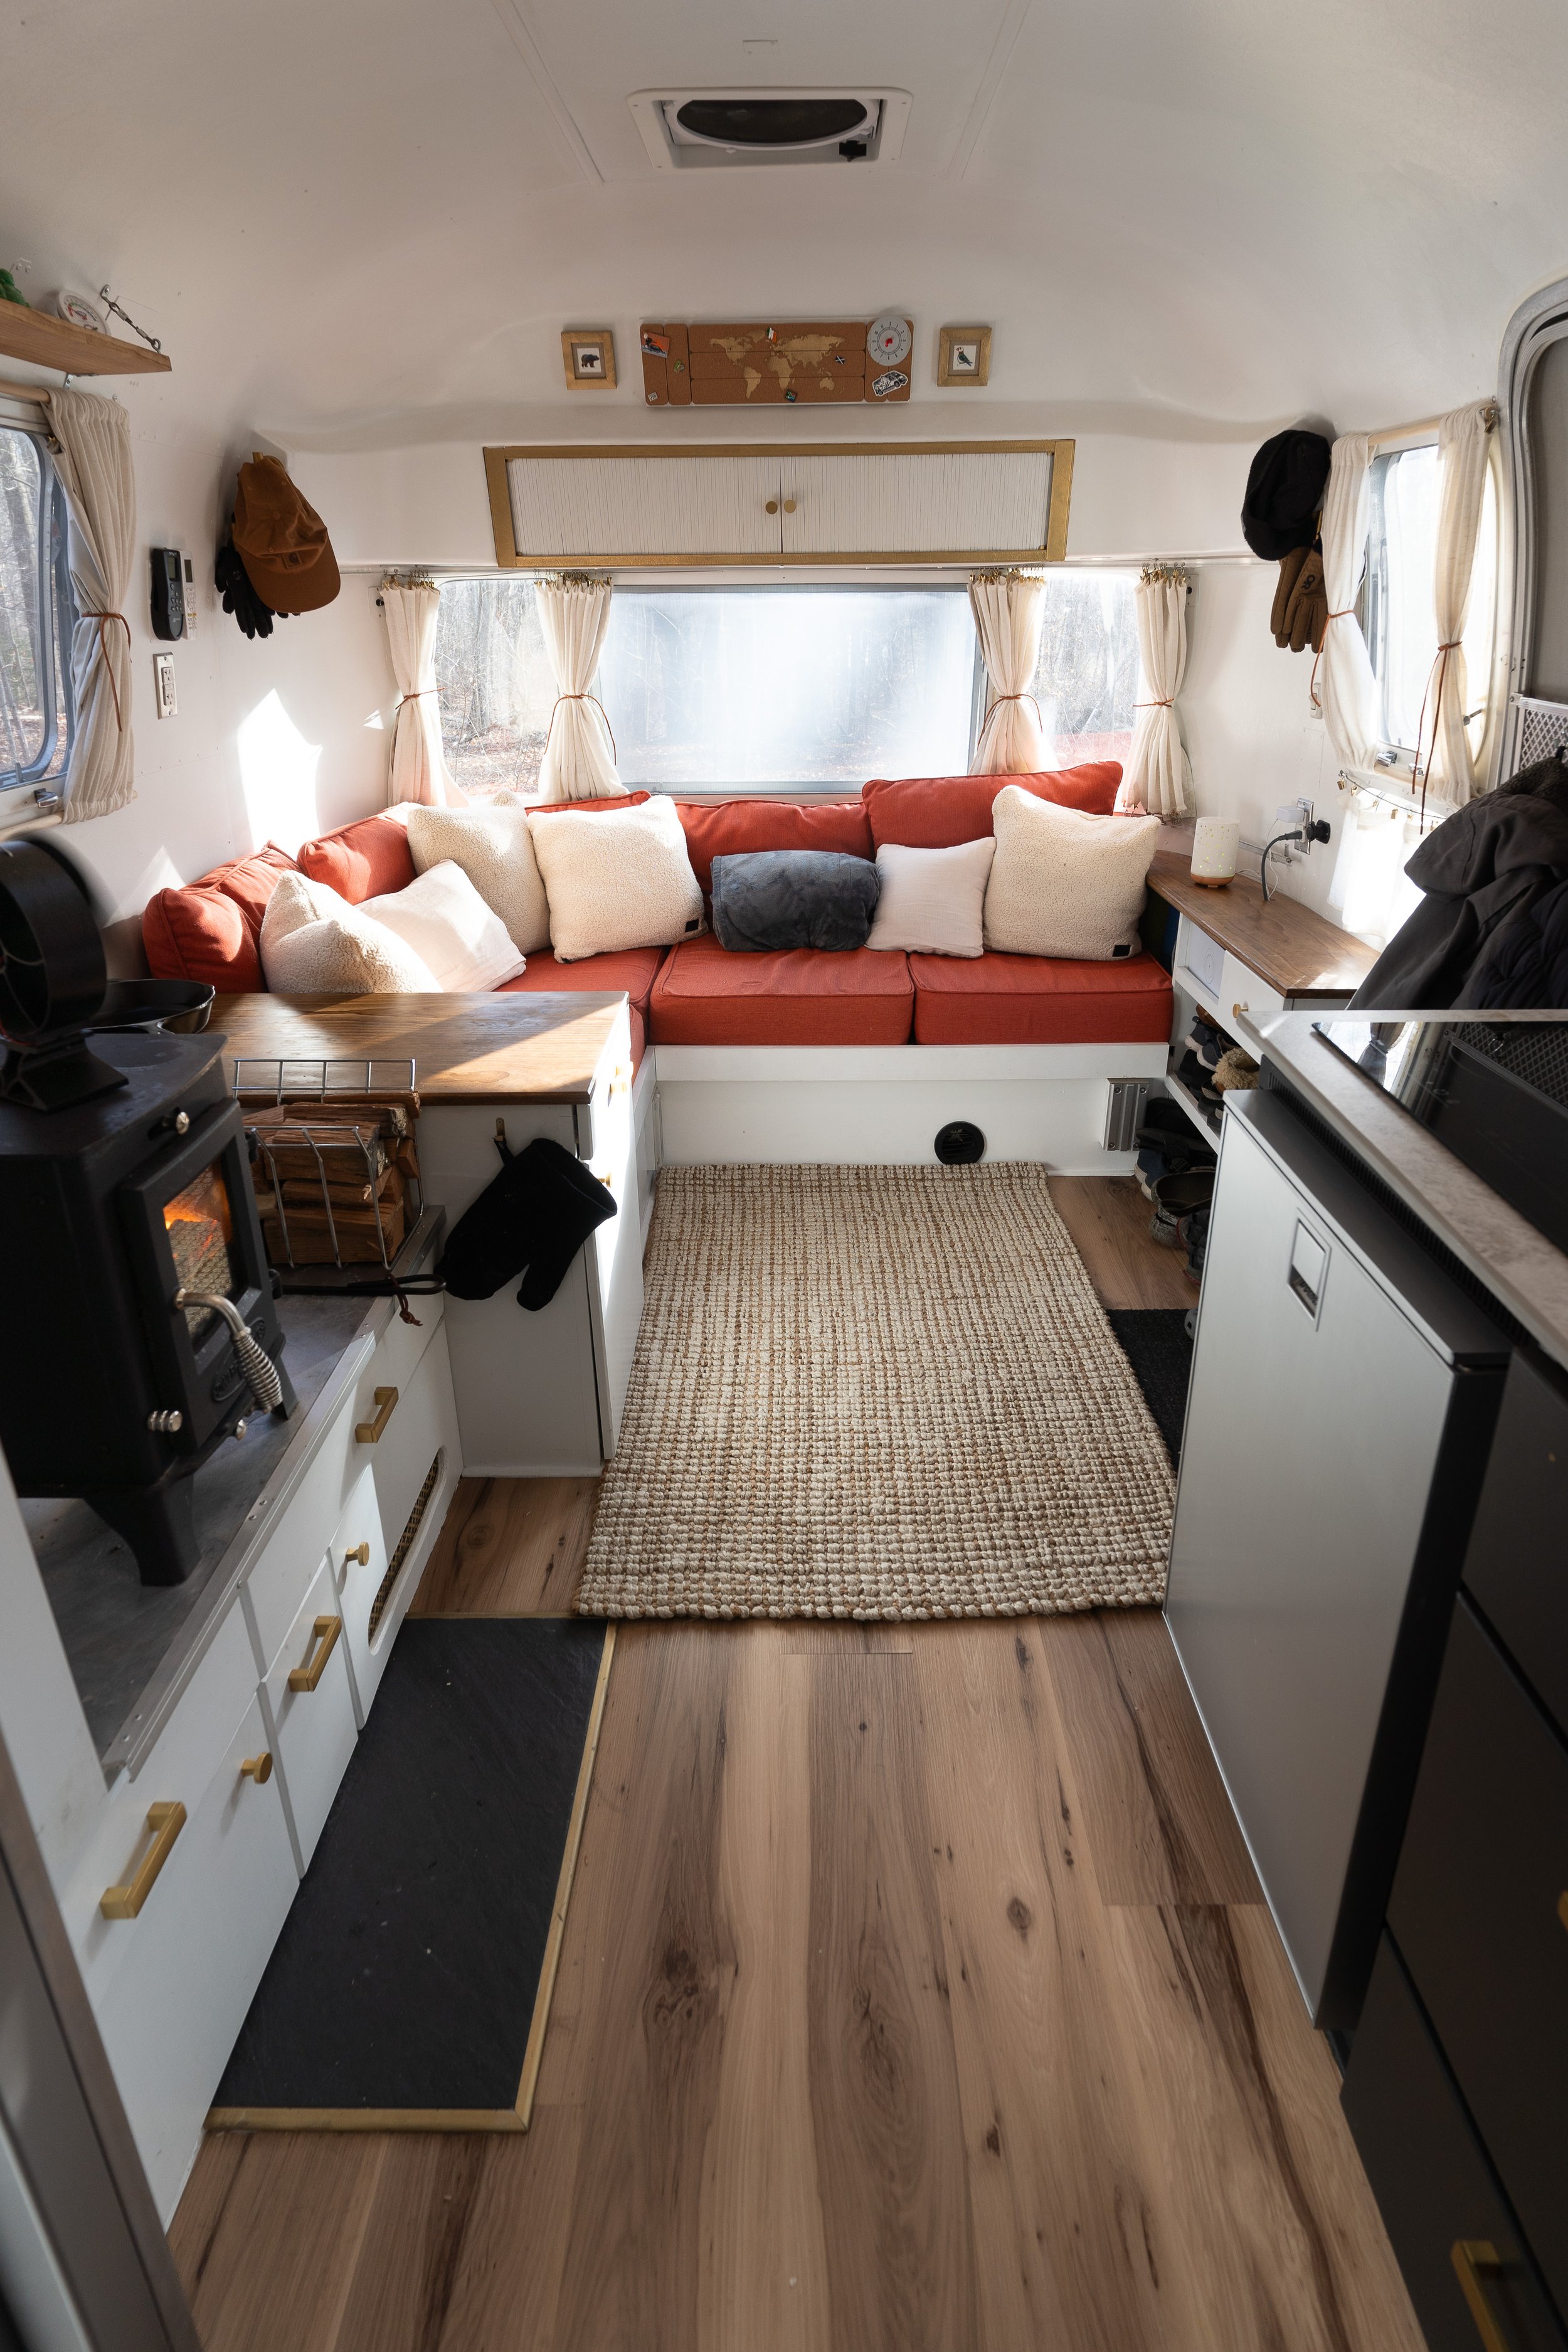
It’s been a dream of ours to turn a vintage airstream into our home! So we made it happen!

PROJECT DETAILS:

Airstream Model: 1973 Land Yacht Safari, 23ft. (19ft. Interior Space)

Purchase Price: $9,000 USD

Project Start Date: October 2023

Project End Date: November 2024

And we restored it all ourselves!

The Original 1973 Airstream

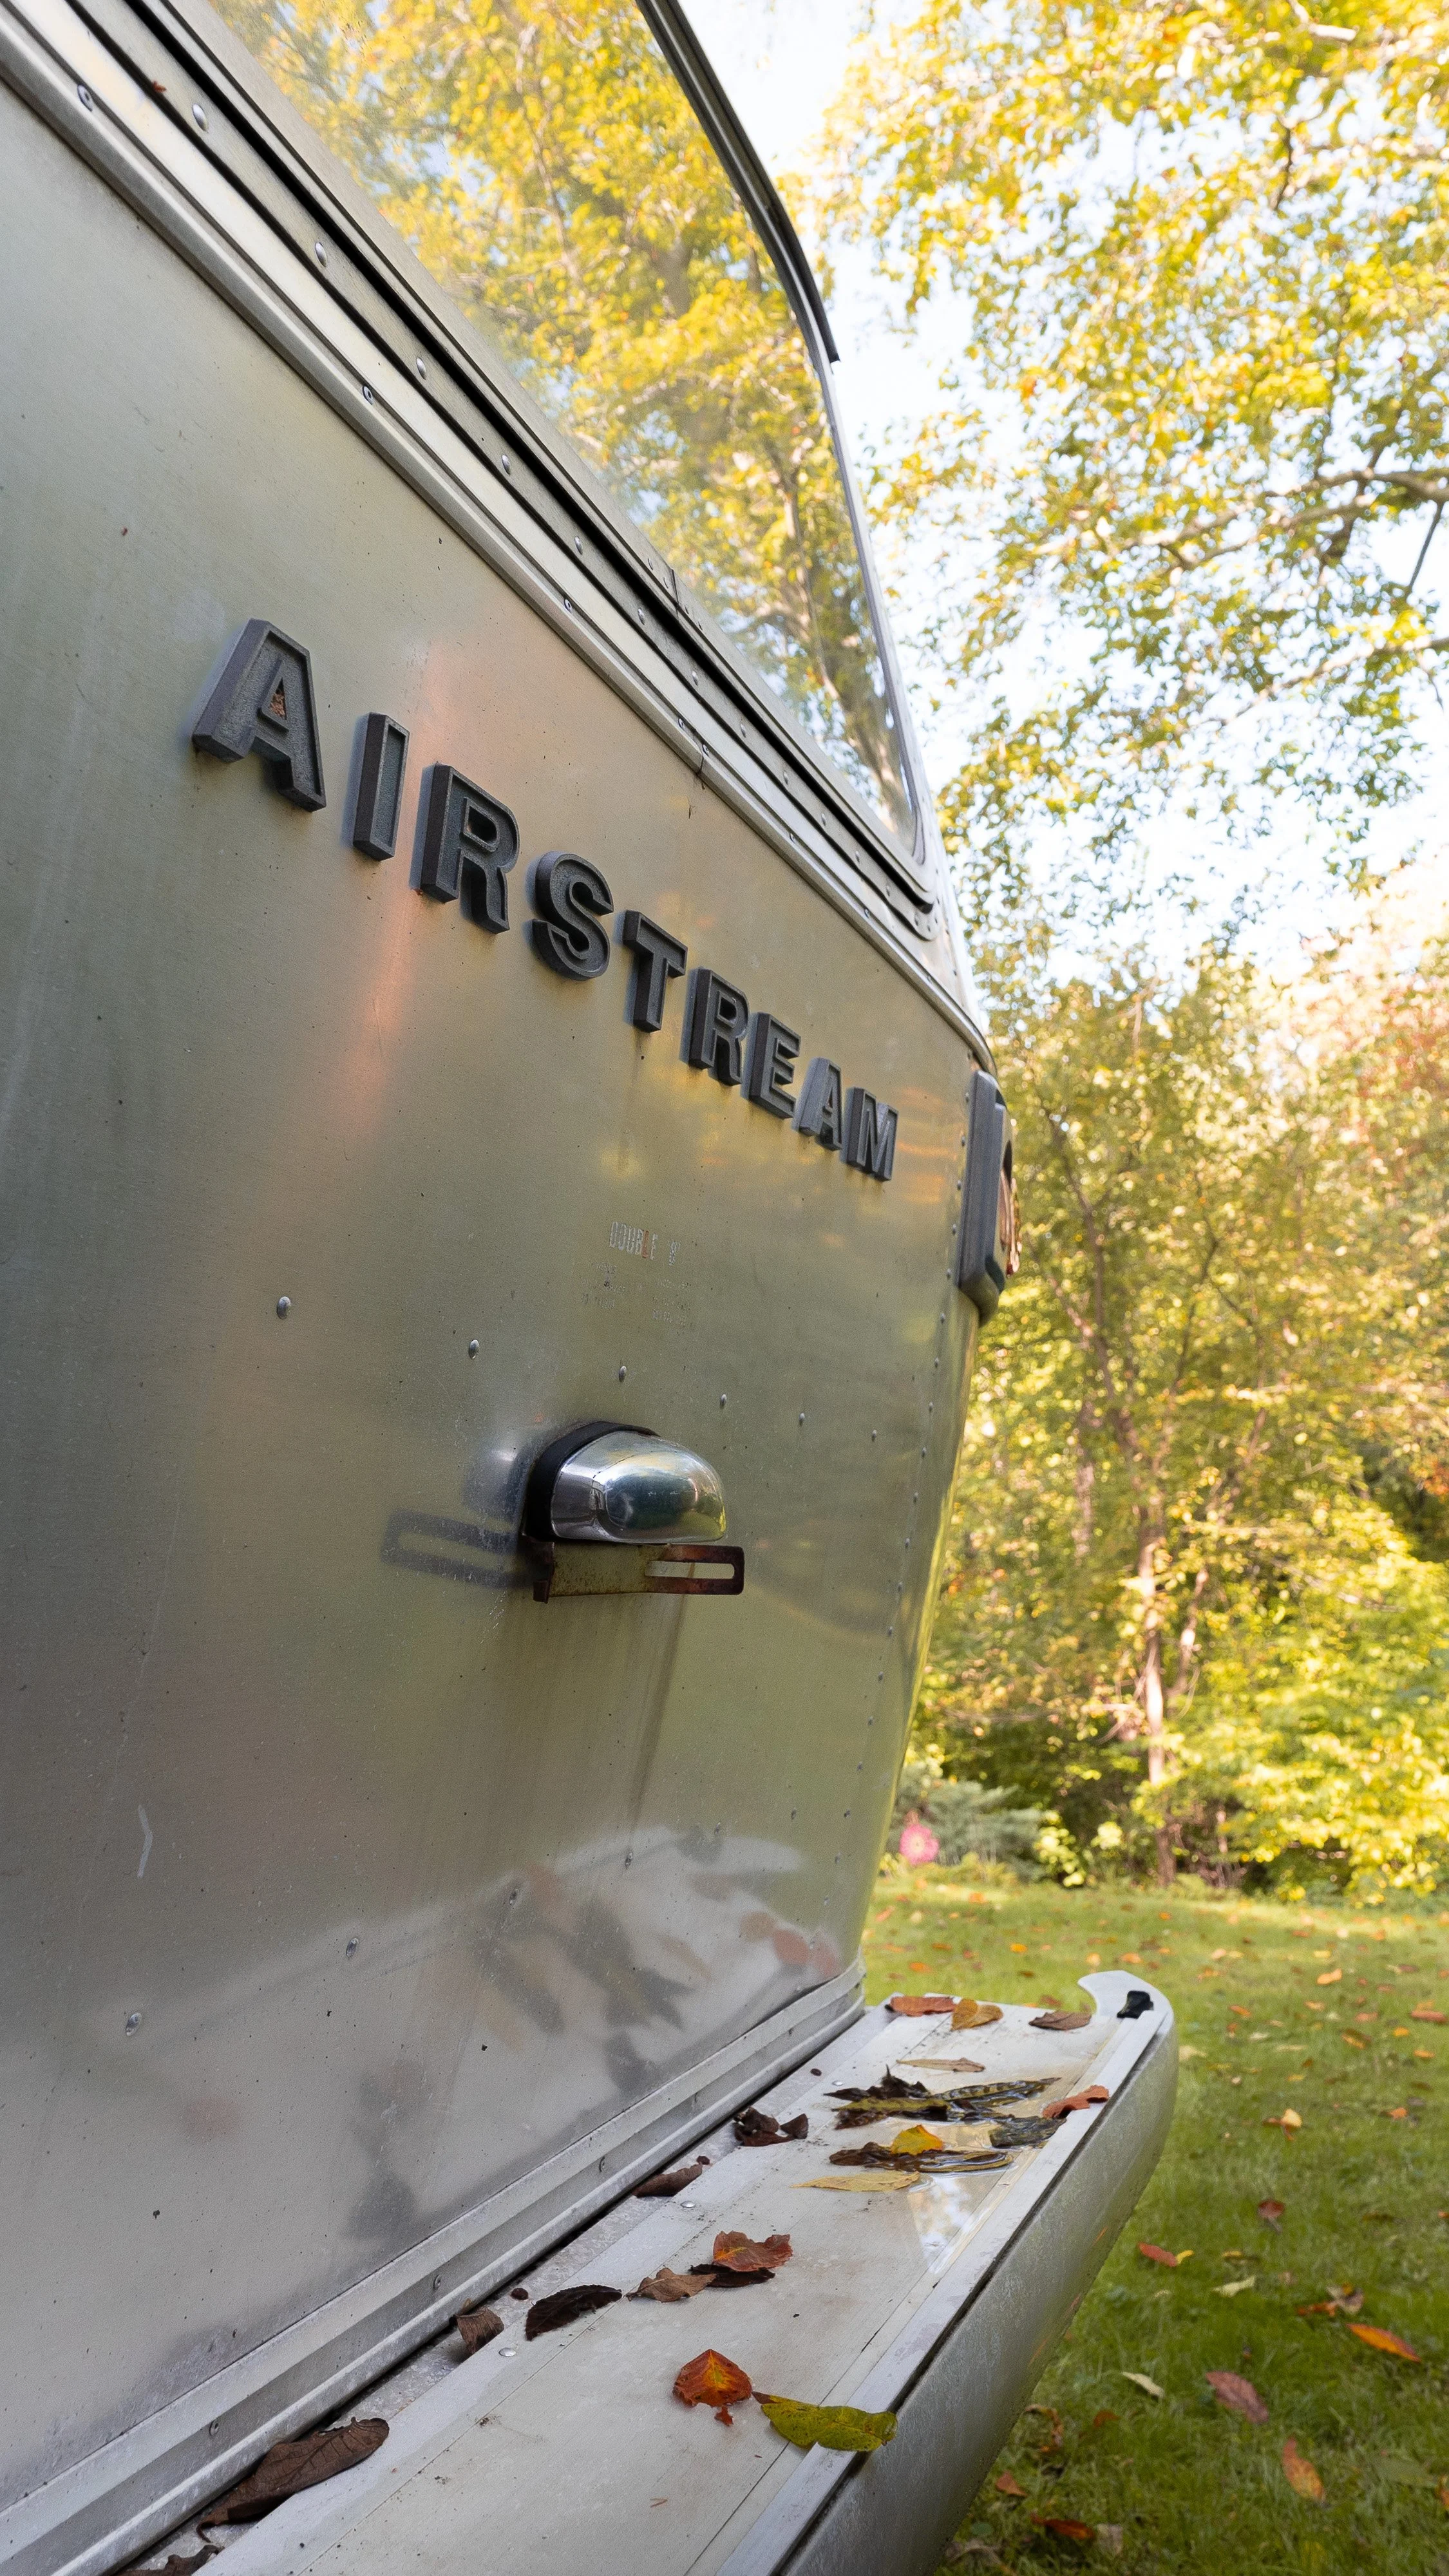
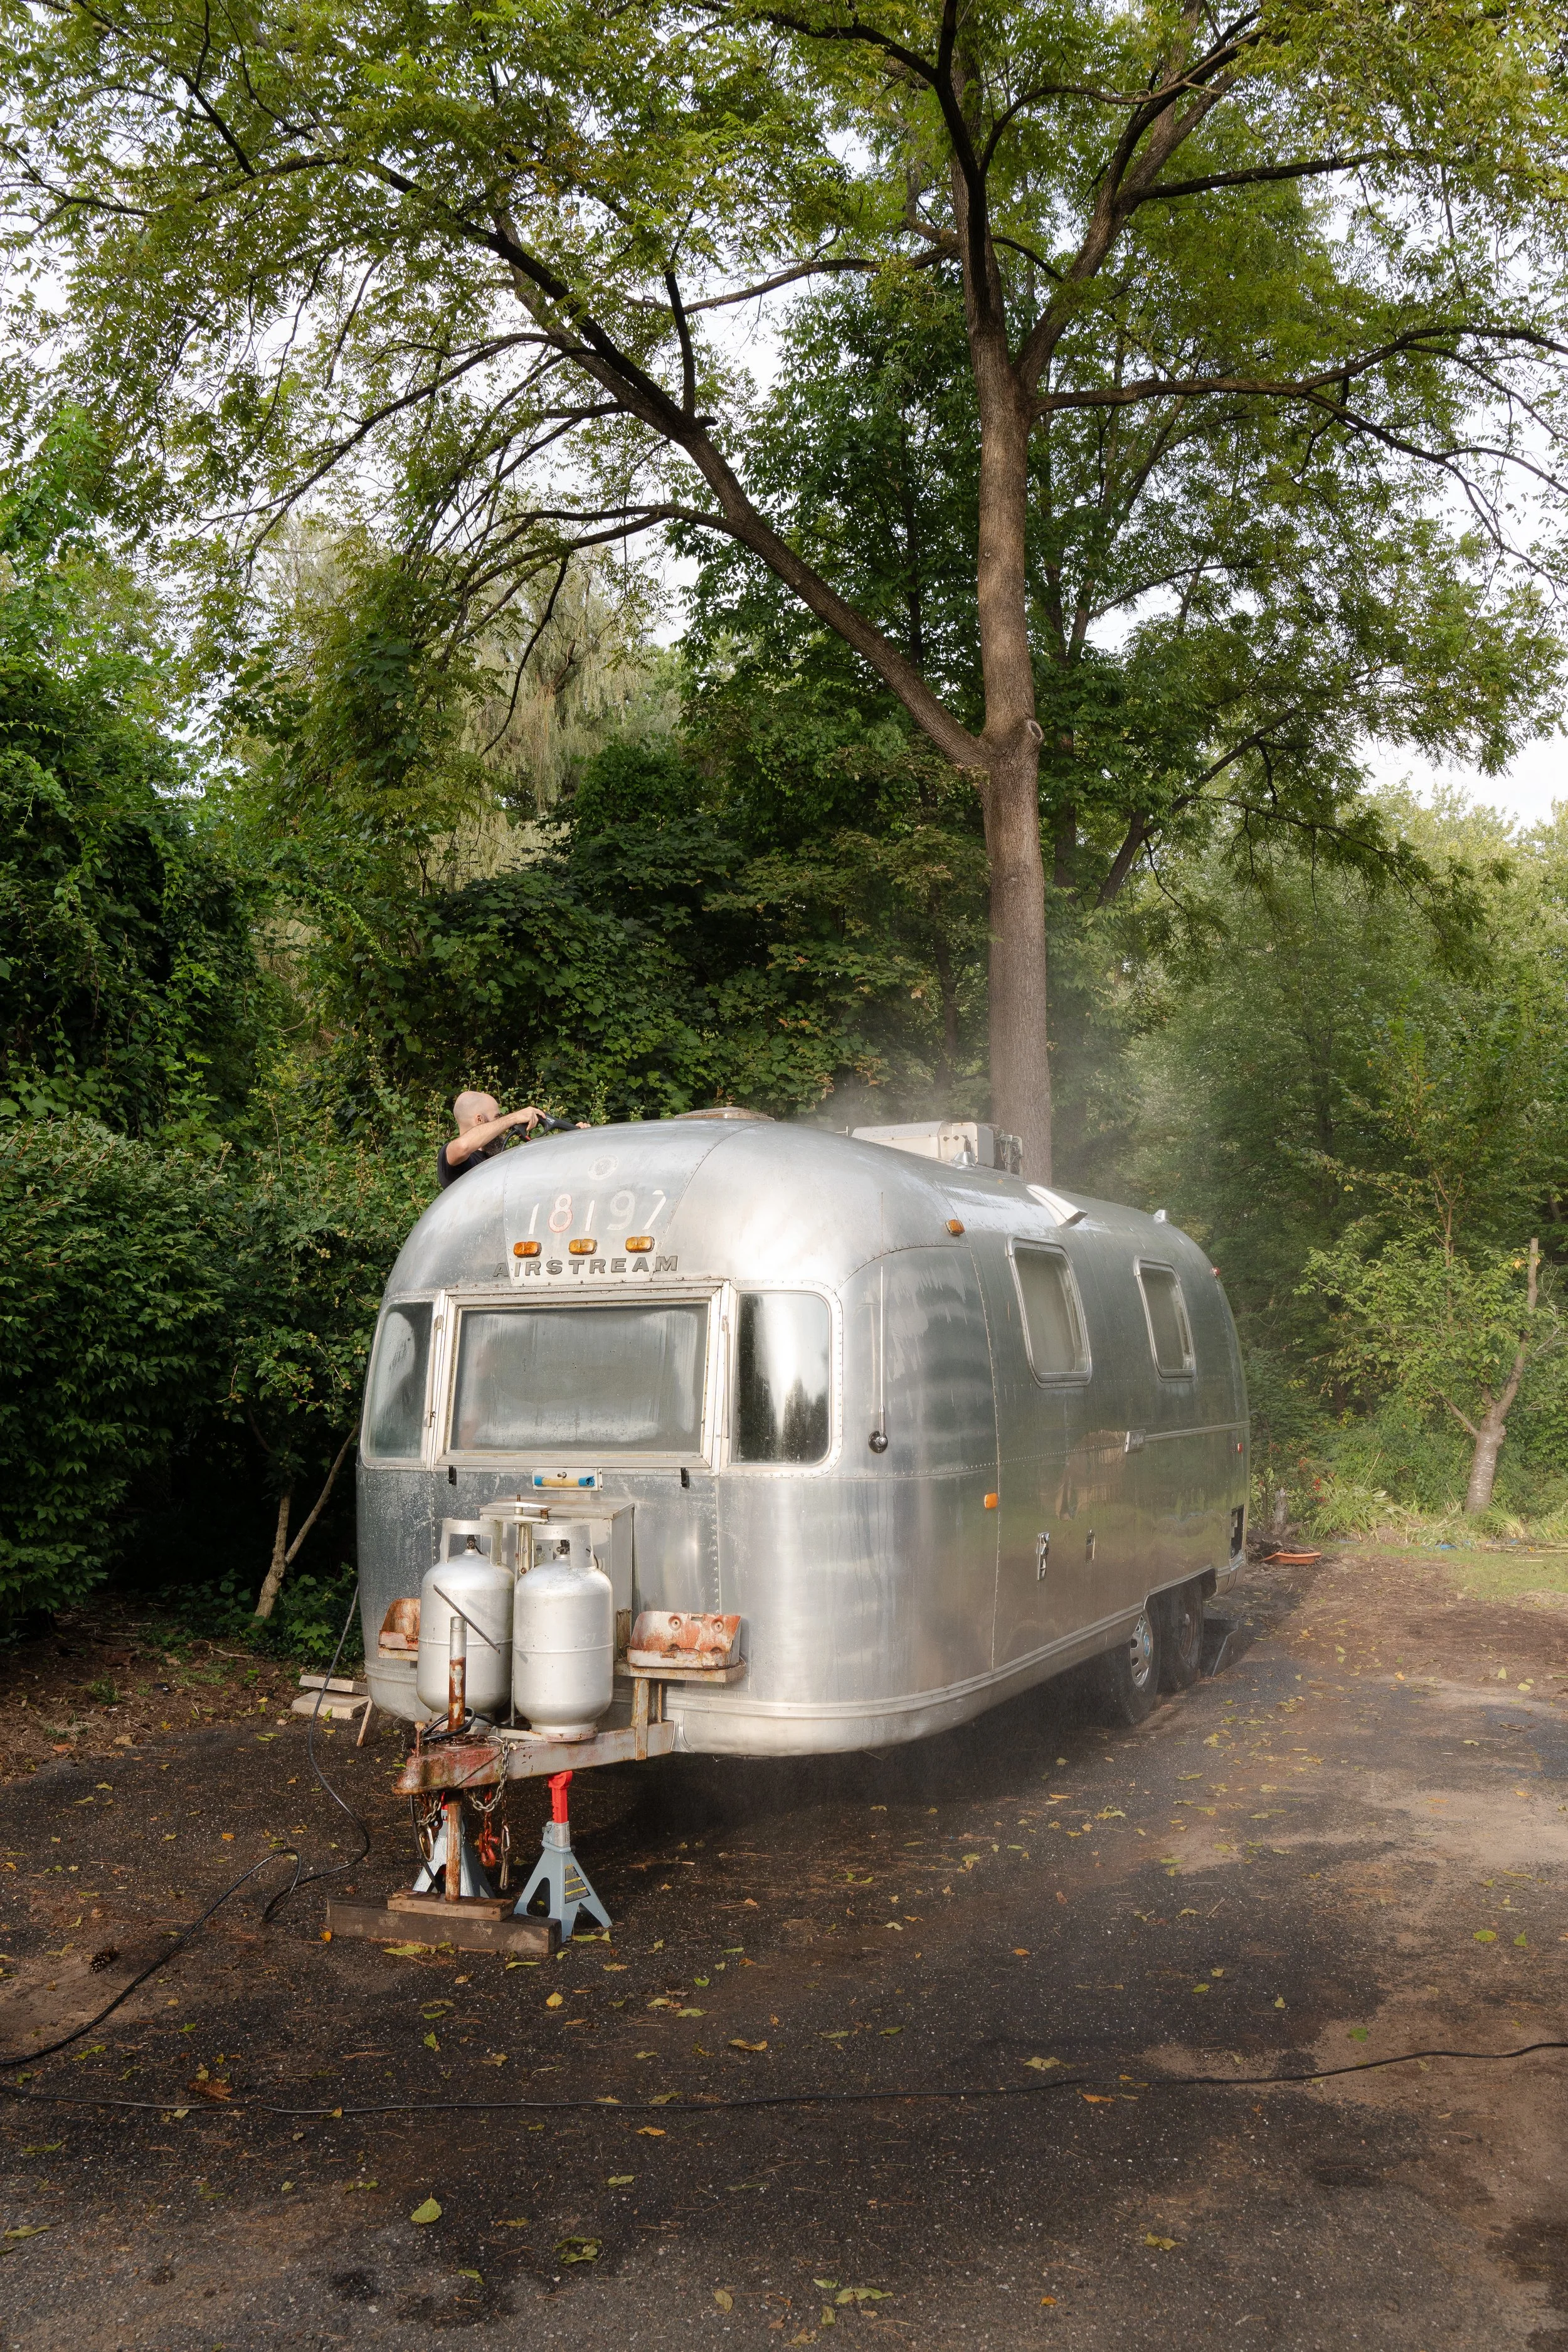
1973 Land Yacht Safari Airstream

Our Vintage Airstream is a dual axle 1973 Land Yacht Safari. From tongue to bumper, it’s 23’ long with approximately 19’x8’ Interior Space. We purchased our Airstream from a couple in Indiana, who decided to sell it after originally planning to restore it themselves but never got around to it.

In August 2023, Matt took a flight to see it for himself, and made a deal. We bought our new (massive) project for $9,000 and put it on a towing bed to get it to Connecticut without problems.

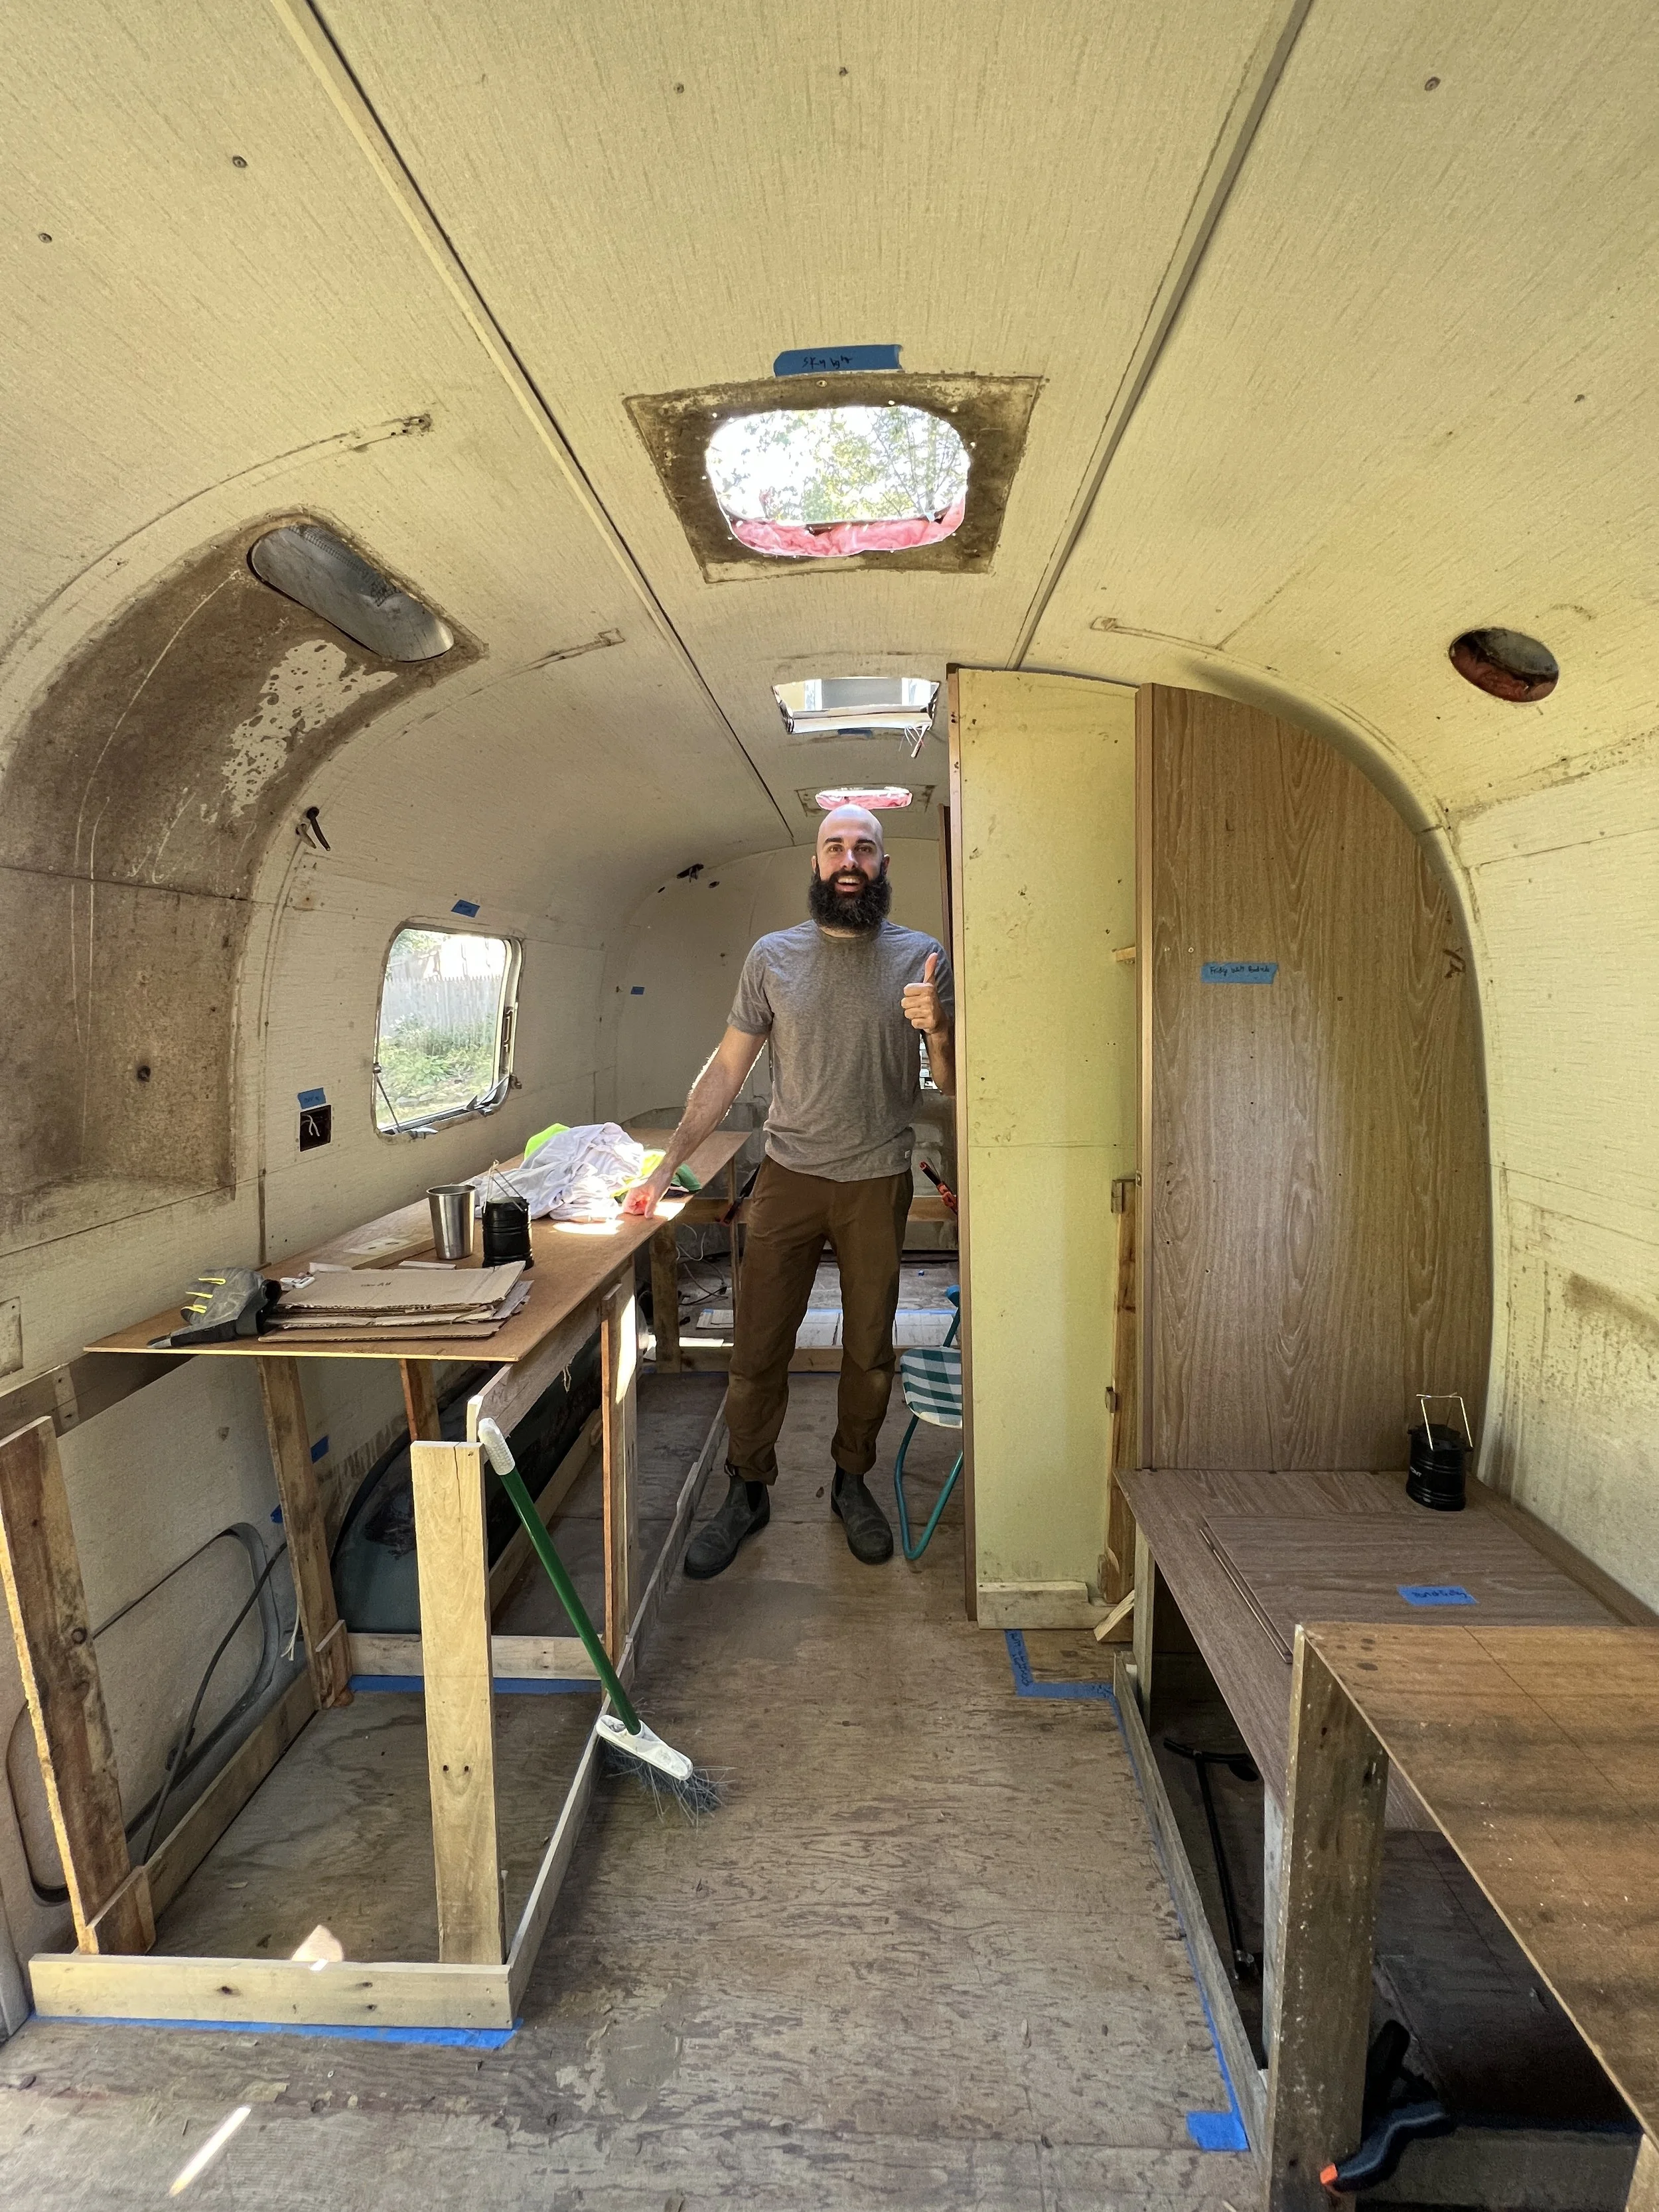
We bought our Airstream with the original interior intact, which was a purposeful decision. Since we don’t have a lot of experience, we figured it’s best to see how it comes apart before putting it back together. This ended up being a GREAT decision because we were able to use the old furniture as reference and it was a breeze reattaching our restored components.


Replaced

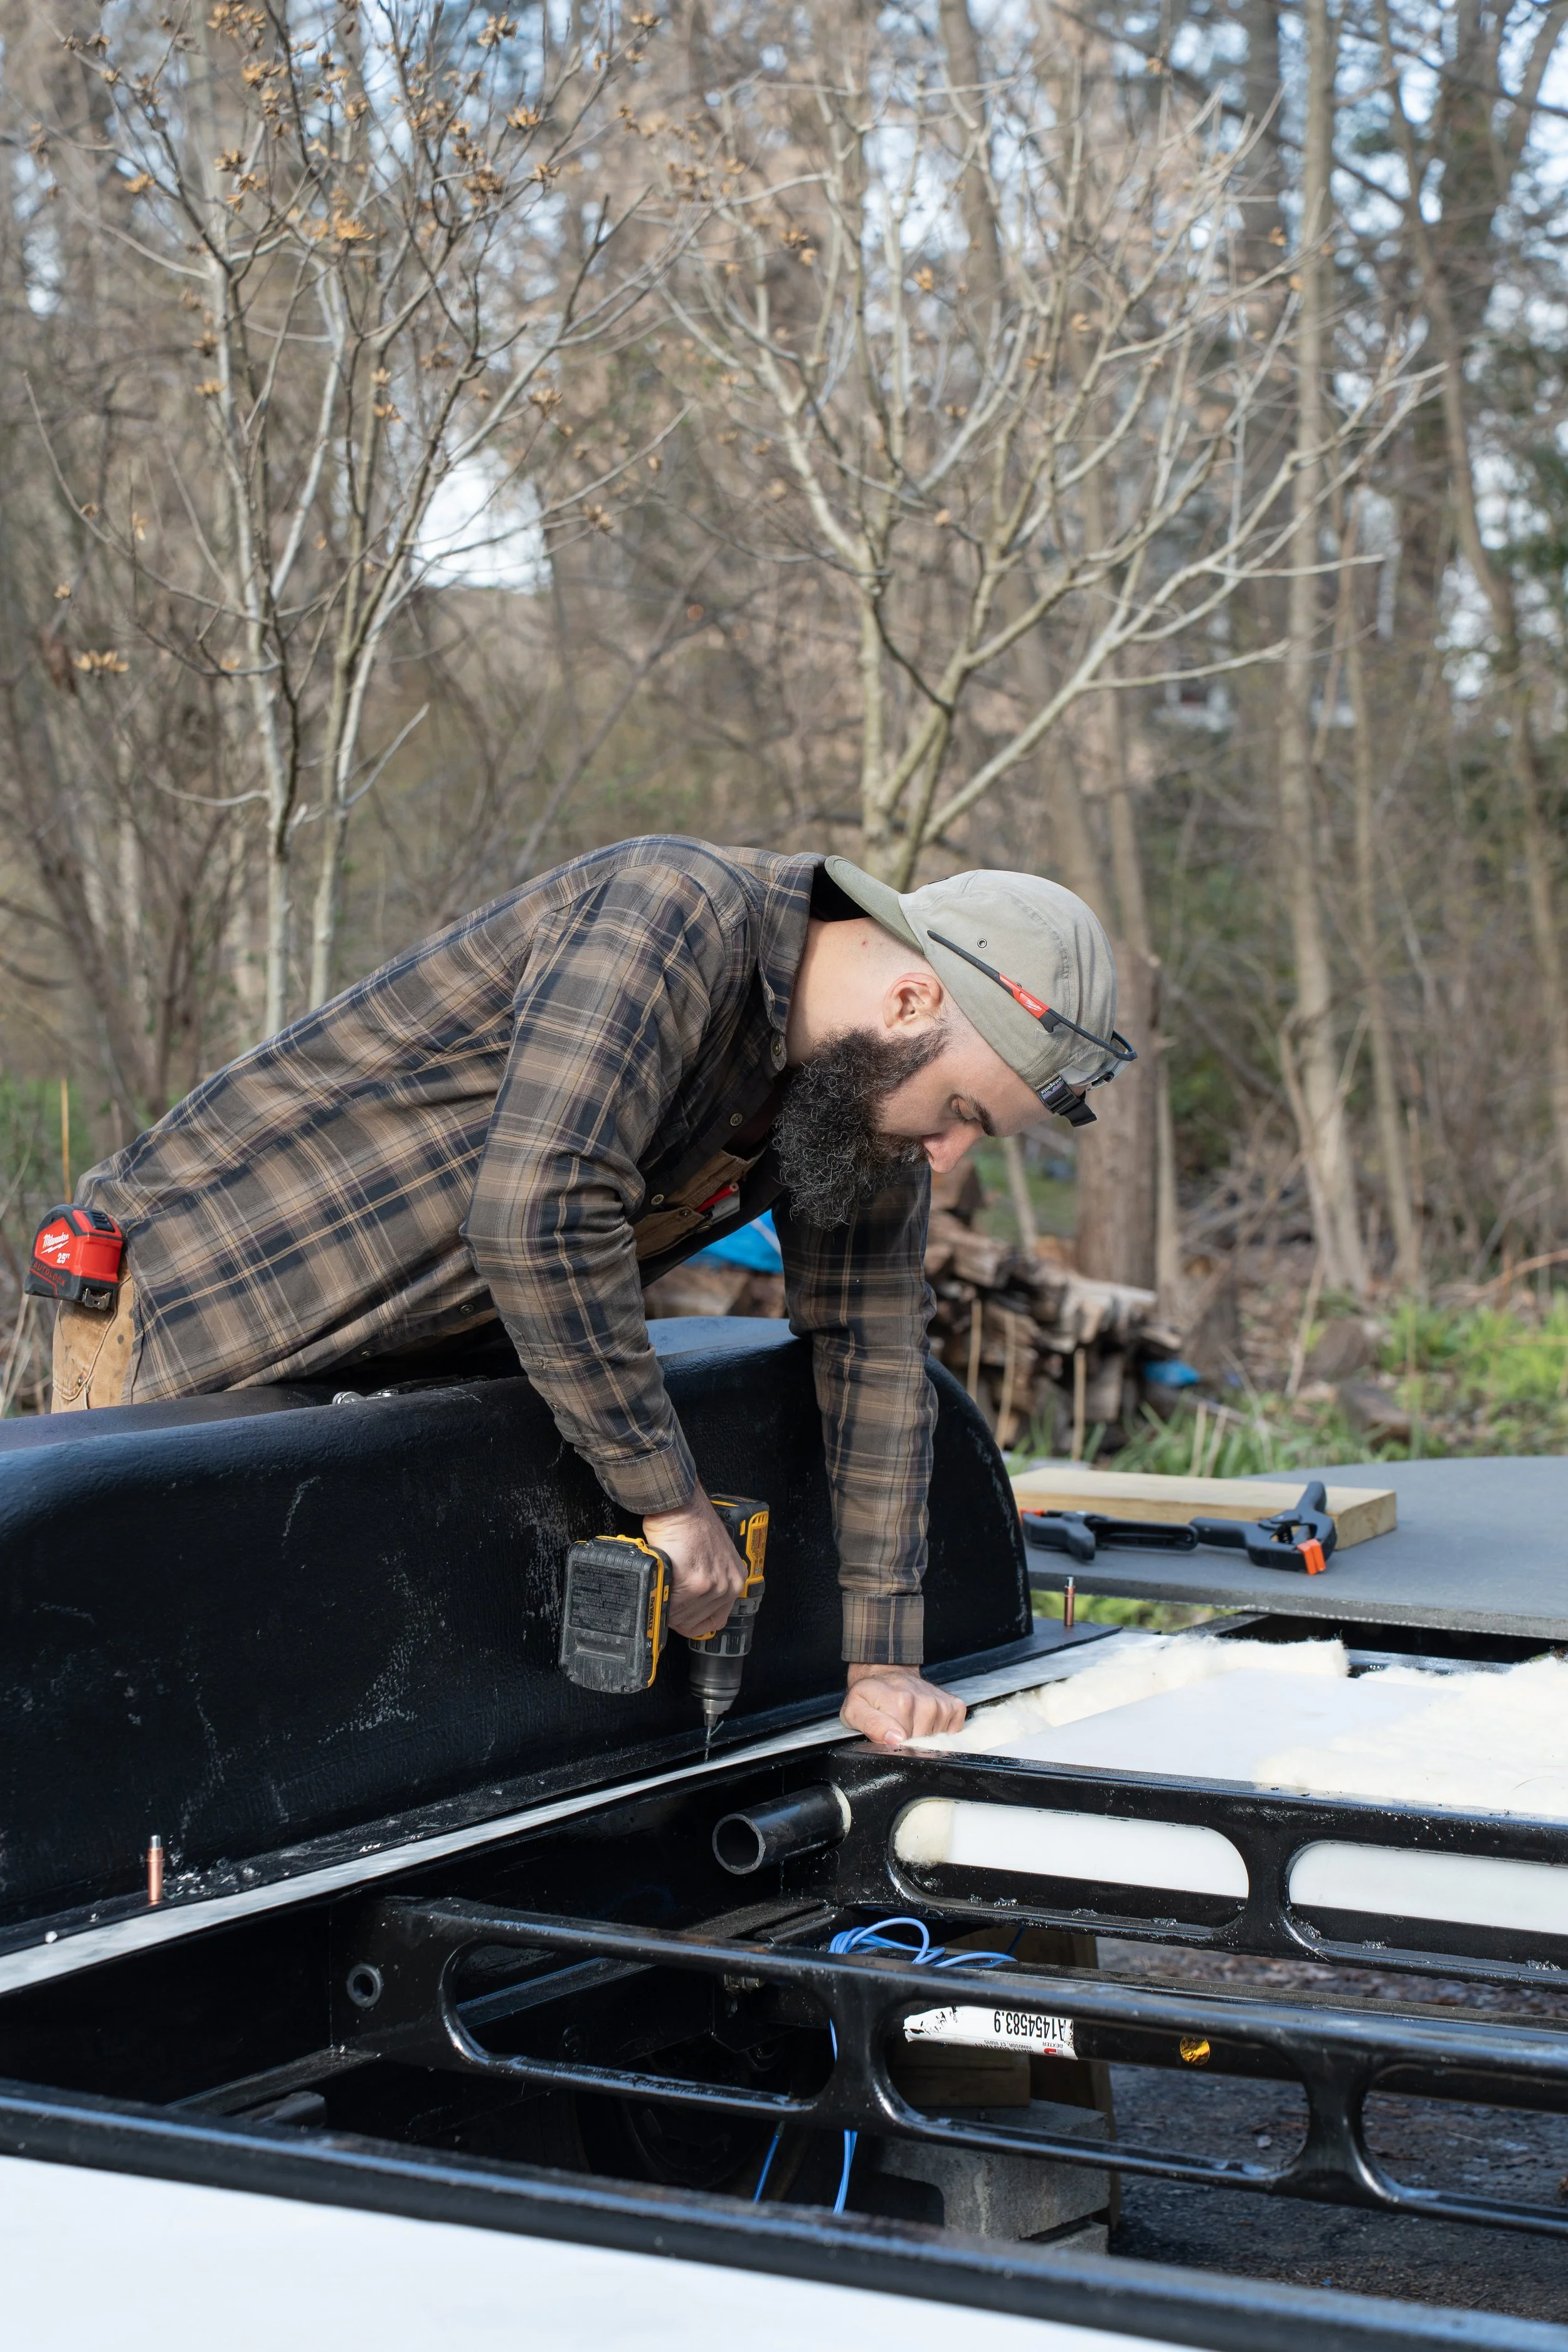
  • Original Rotten Plywood Subfloor w/ 3/4” Coosa Bluewater 26 (will never rot)

  • Original Electrical System w/ a Custom Solar Powered System with 800ah Battery + 3000w Invertor

  • Full Bathroom w/ Wet Bath

  • Blackwater Toilet with Composting Toilet

  • Original AC w/ Velit 12V AC

  • Original Fans and Vents w/ Maxxair Fans & Maxxair Skylight

  • Original Step w/ Torklift Airstream Step

  • All Trailer Lights & Wiring

  • Original Door Latch w/ Latchit Latch & Schwinn Deadbolt

  • Fiberglass Insulation w/ Havelock Wool for walls and Rockwool for floor

  • Propane Furnace w/ Diesel Heater & Tiny Wood Stove

  • Axles w/ New Dexter #10 Axles

  • Propane Fridge w/ 12 Volt Isotherm Cruise Elegance 135

  • Original Fresh Water Tank w/ Direct Replica from Vintage Trailer Supply

Added

  • 800 Watts of Flexible Renogy Solar Panels

  • Greywater Tank (mounted under subfloor)

  • Separate 12V Chest Freezer

  • Starlink Internet

  • All New Custom Furniture

Removed

  • Black Water System

  • All Propane Tanks, Lines & Appliances

  • All Original Furniture

  • Kitchen Galley Vent

  • Refrigerator Vent

  • Original Awning

Restored

  • Original Chassis (Frame)

  • Gravity Fill System

  • All Windows

  • Aluminum Shell

  • Original Aluminum Walls

  • Front End Cap (Plastic)

  • Back End Cap (Fiberglass)

  • Window Screens

  • Belly Pan Aluminum Pieces

  • Tambour doors for Front End Cap

  • Stabilizers

  • Nameplates & Letters


Watch the Original Tour

Check out our GROOVY Vintage Airstream from 1973! This is our Airstream Land Yacht Safari 23 ft in its original condition. We purposely looked for an airstream with the interior intact so we can see how it is put together and save us headaches in the future! Come take a tour!

The Airstream Restoration

Step by Step

Step 1: Take Pictures of the Original Airstream

Our best friend is documentation. We made sure to take photos of EVERYTHING, took note of every nook and cranny, how things are fastened together and how things are layered.

Step 2: Gut the Airstream Interior

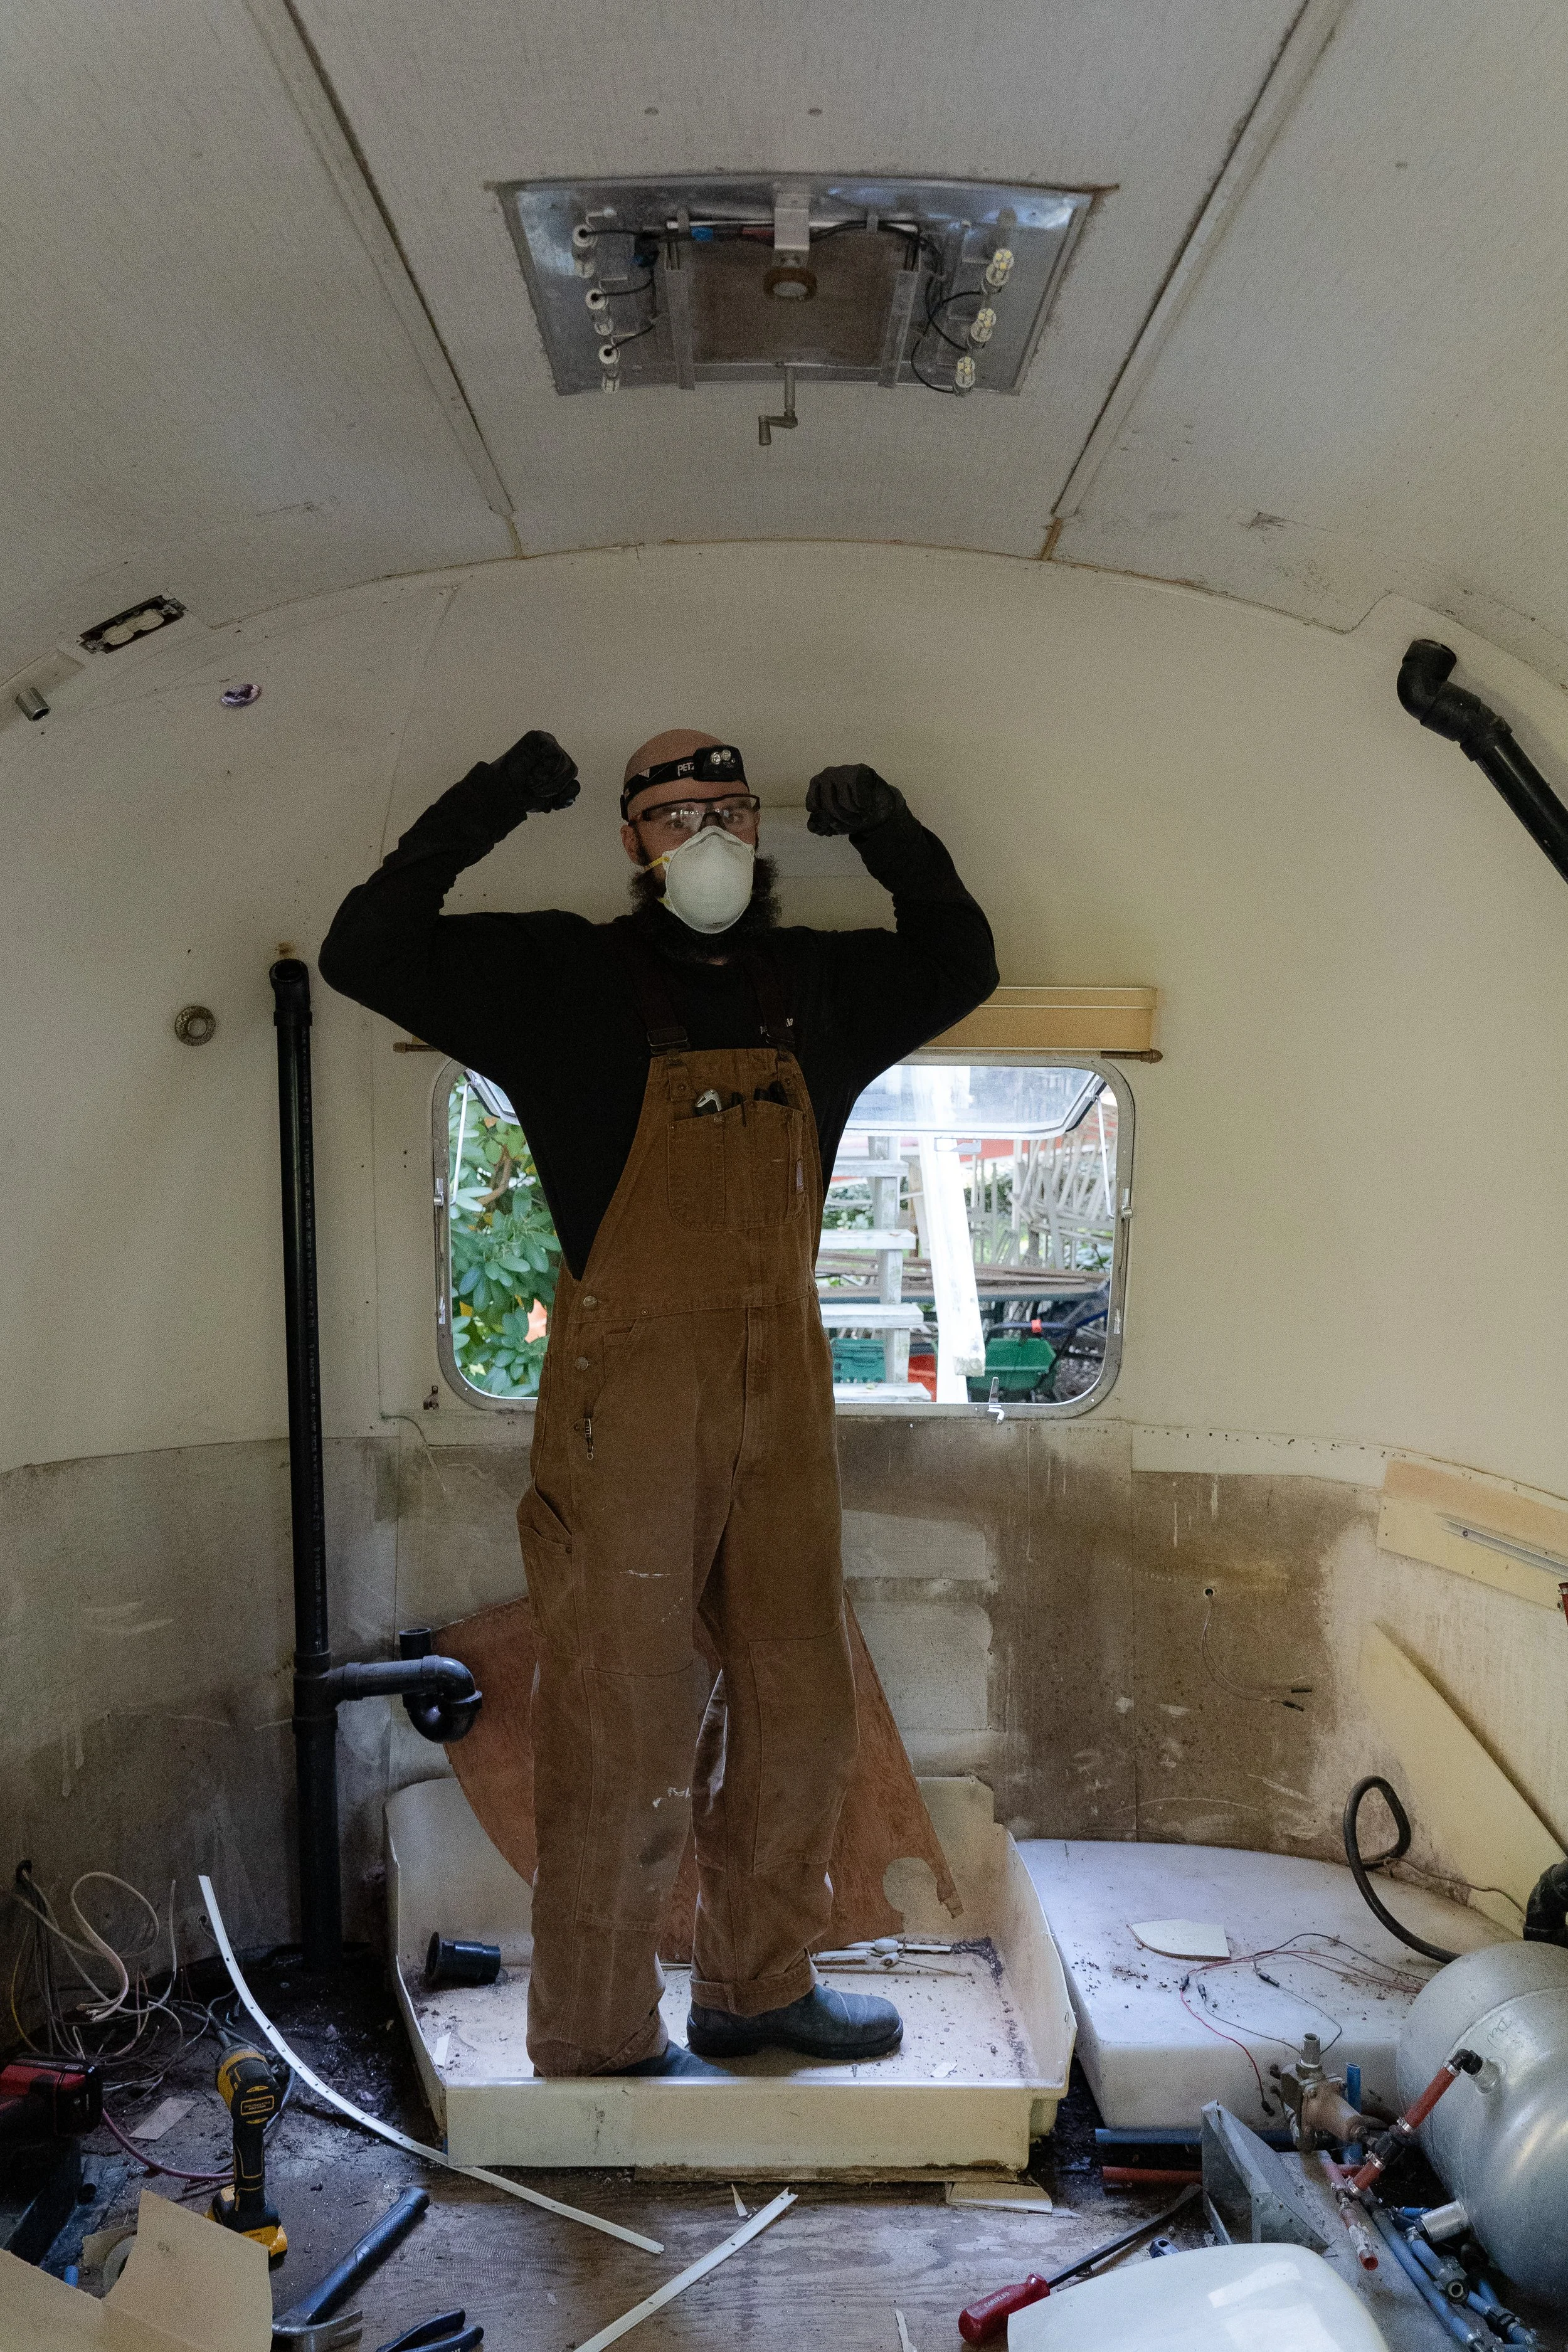
We took our sweet time here removing rivets to make sure everything stays intact. As much as we wanted to Hulk Smash the entire thing, we knew it was in our best interest to keep everything in its original condition so we could either reuse, repair or use as a template. The only thing we didn’t keep intact was the bathroom because we knew we would not be reusing the pieces.

Pro Tip #1: Once you’re done, take stock of everything you have and don’t throw anything away if you have the storage for it!

Pro Tip #2: Secondly, you’ll want to take pictures of the bare walls, taking note of where the existing holes are and how the pieces overlap.

Step 3: Take Apart Belly Pan

Matt then crawled under the airstream to take apart the belly pan. These are 3 big pieces of aluminum that hold up the insulation underneath. Unlike the interior, there were so many different sizes of rivets (likely from repair over the years).

Pro Tip: Make sure the water tank is completely empty. Ours was half full and that made it heavier and harder to remove the piece underneath it.

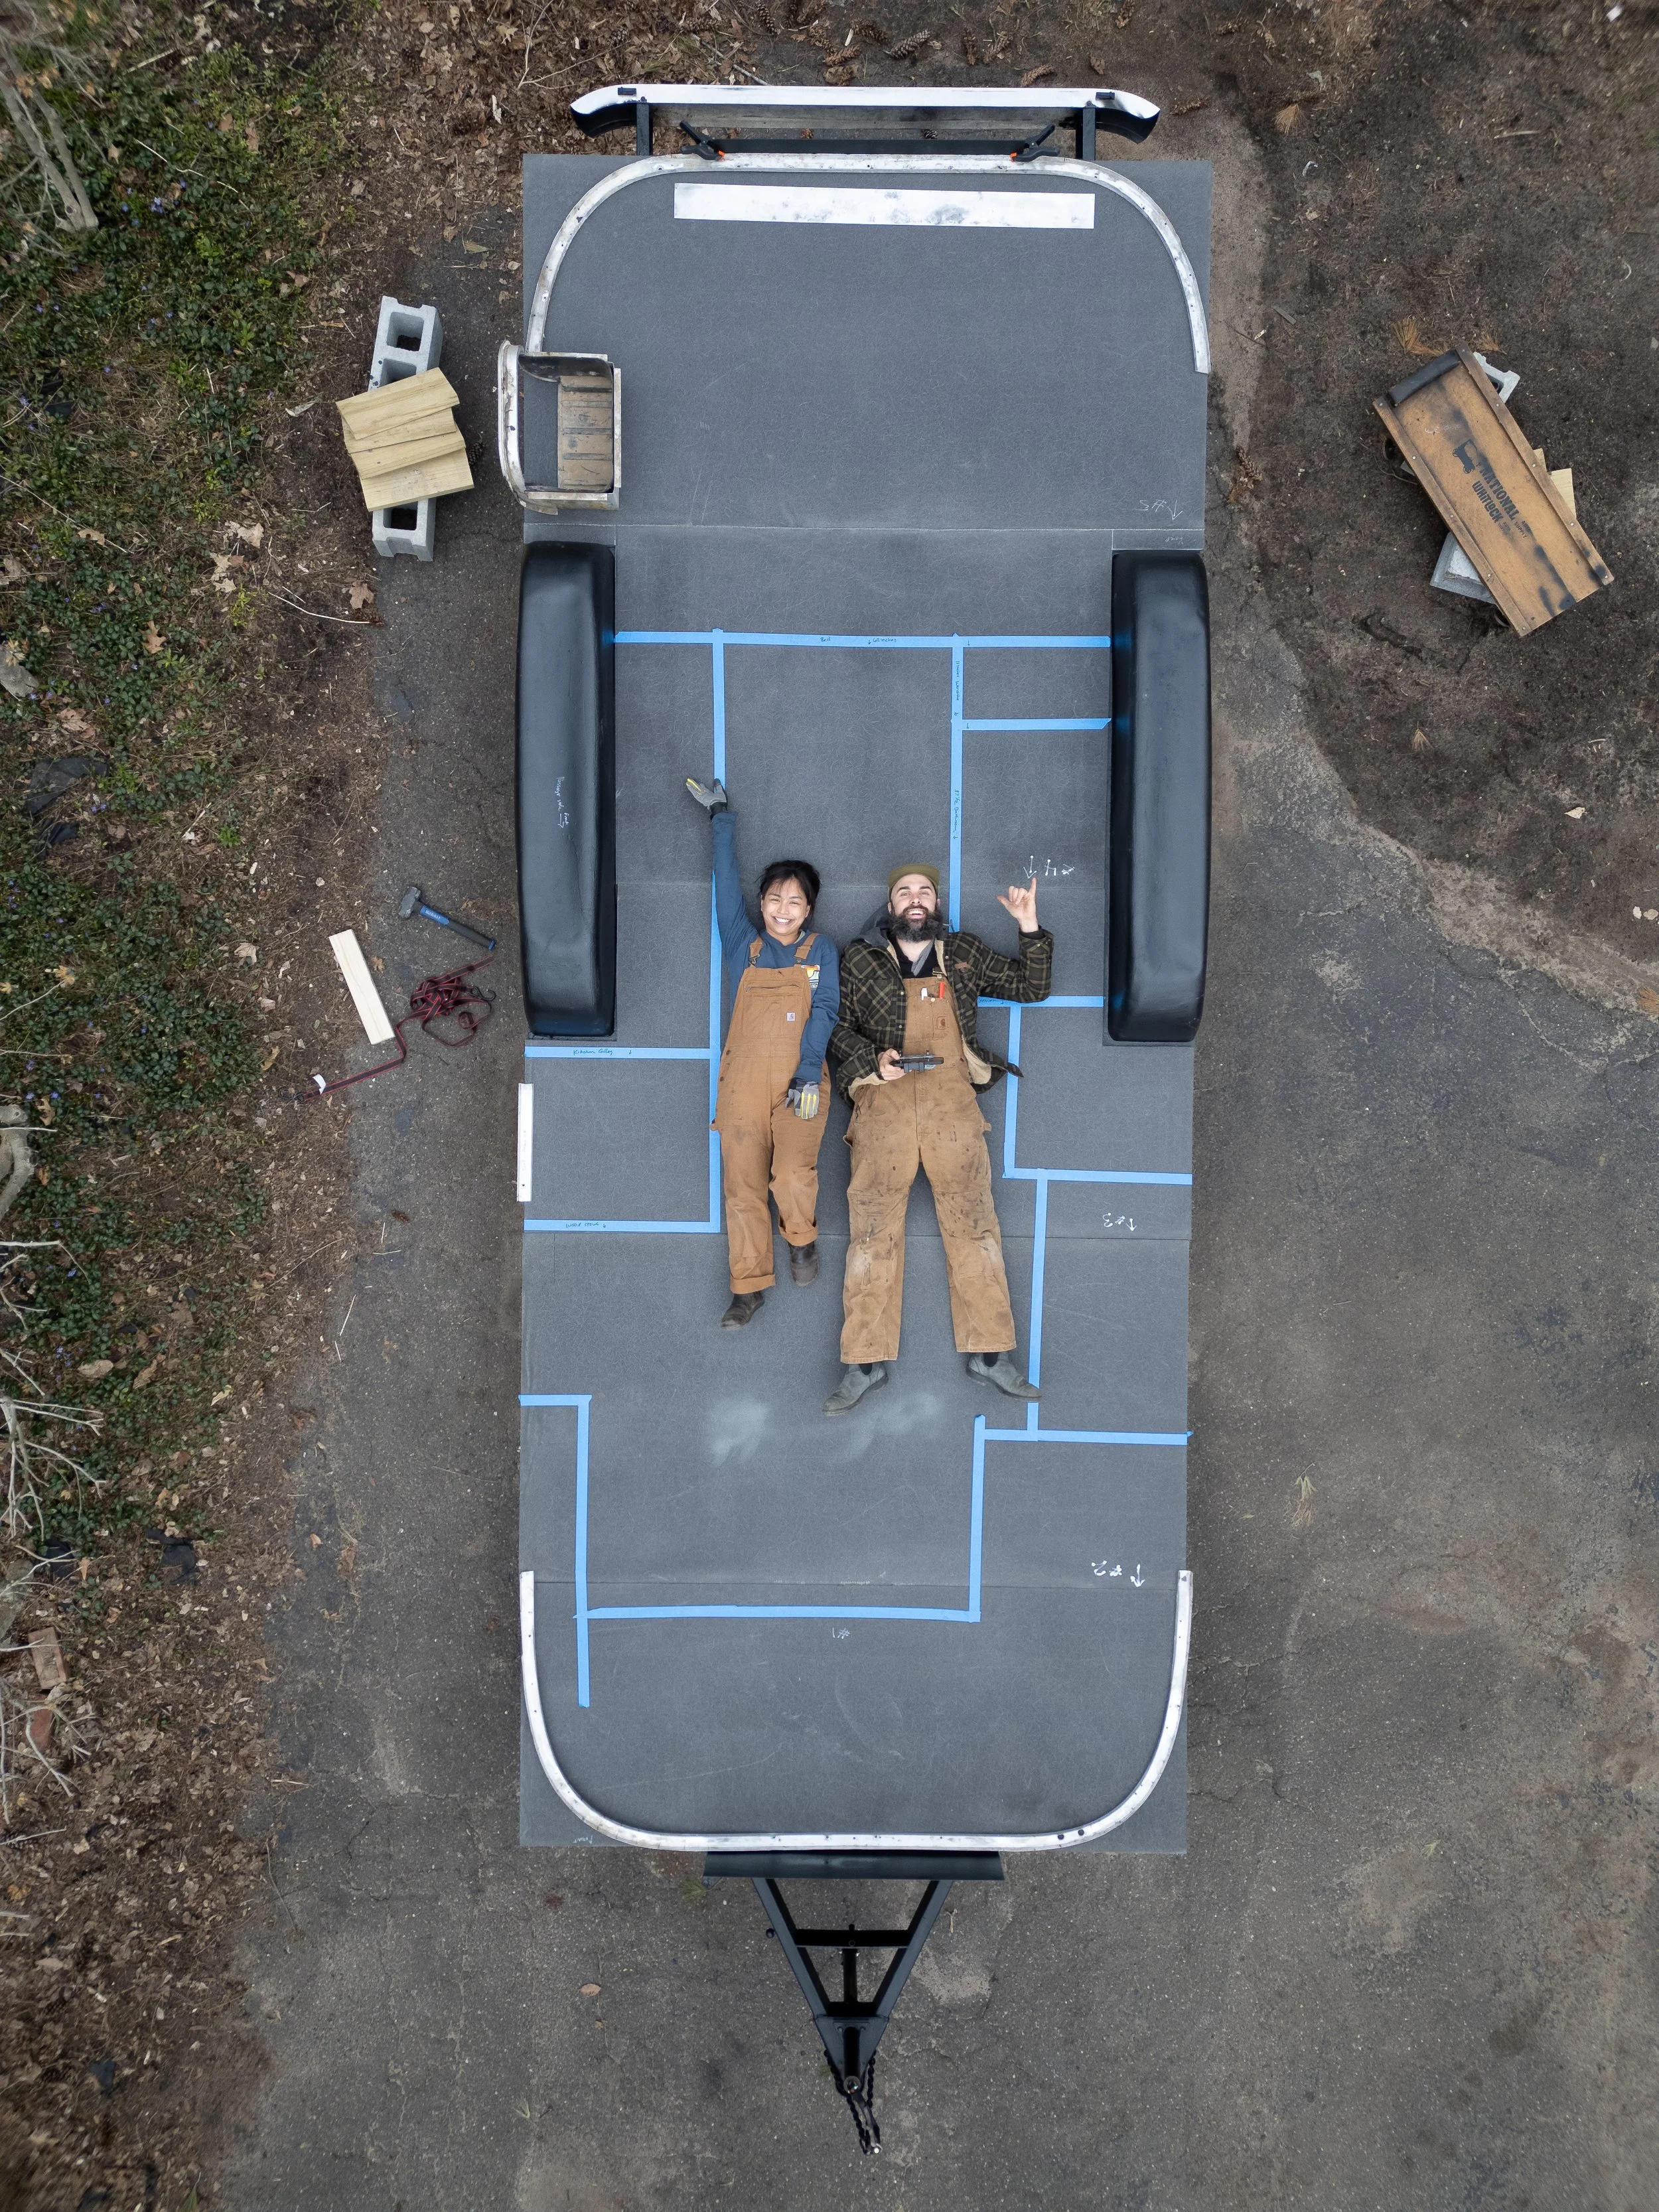
Step 4: Make a Mock Layout of your Desired Layout

We grabbed some free pallets, broke them down and make a rough mock layout of the interior we wanted. When choosing our layout, we took note of our weight distribution, making sure to follow the 60/40 rule, with 60% of the trailer weight in front of the axles. We were also able to make decisions like the height of countertops, storage solutions, plumbing layout, electrical sockets, etc which saved us a TON of headaches later on.

Step 5: Take Apart Walls, End Caps, Insulation, Vents, Fans, AC & Old Wires

More rivets! Again, we made sure to take your time and LABEL THE WALL PANELS. We took a sharpie and wrote on the back of each panel describing it’s placement as descriptive as possible. This is a dirty job so we made sure to wear a respirator, safety glasses and long sleeves to protect our from touching the fiberglass as it can cause irritation. Not to mention dealing with all the rodent poop and nests! The roof components were attached with buck rivets. We found using this rivet removal tool was helpful for removing the rivets.

For our 23ft airstream, we filled 7 large garbage bags with insulation from the walls & floor.

Pro Tip: Your end caps CAN be repaired if they look like they’re in bad shape. We repaired both of ours even after they both survived a winter outside and uncovered.

Step 6: Disconnect Shell from Floor

Behind the walls are the C channels (on the sides) and U channel (on the front & back) connecting the floor to the shell. Using an oscillating multitool we cut all the bolts connecting them to the floor. Then, we went outside and removed the trim along the lower edge, and removed all the buck rivets connecting the frame to the channels.

Pro Tip: There is a steel plate at the front of the airstream used as a tie-down plate. Make sure you remove the rivets connecting it to the shell before attempting to remove the shell!

Step 7: Lift the Shell to Replace the Subfloor